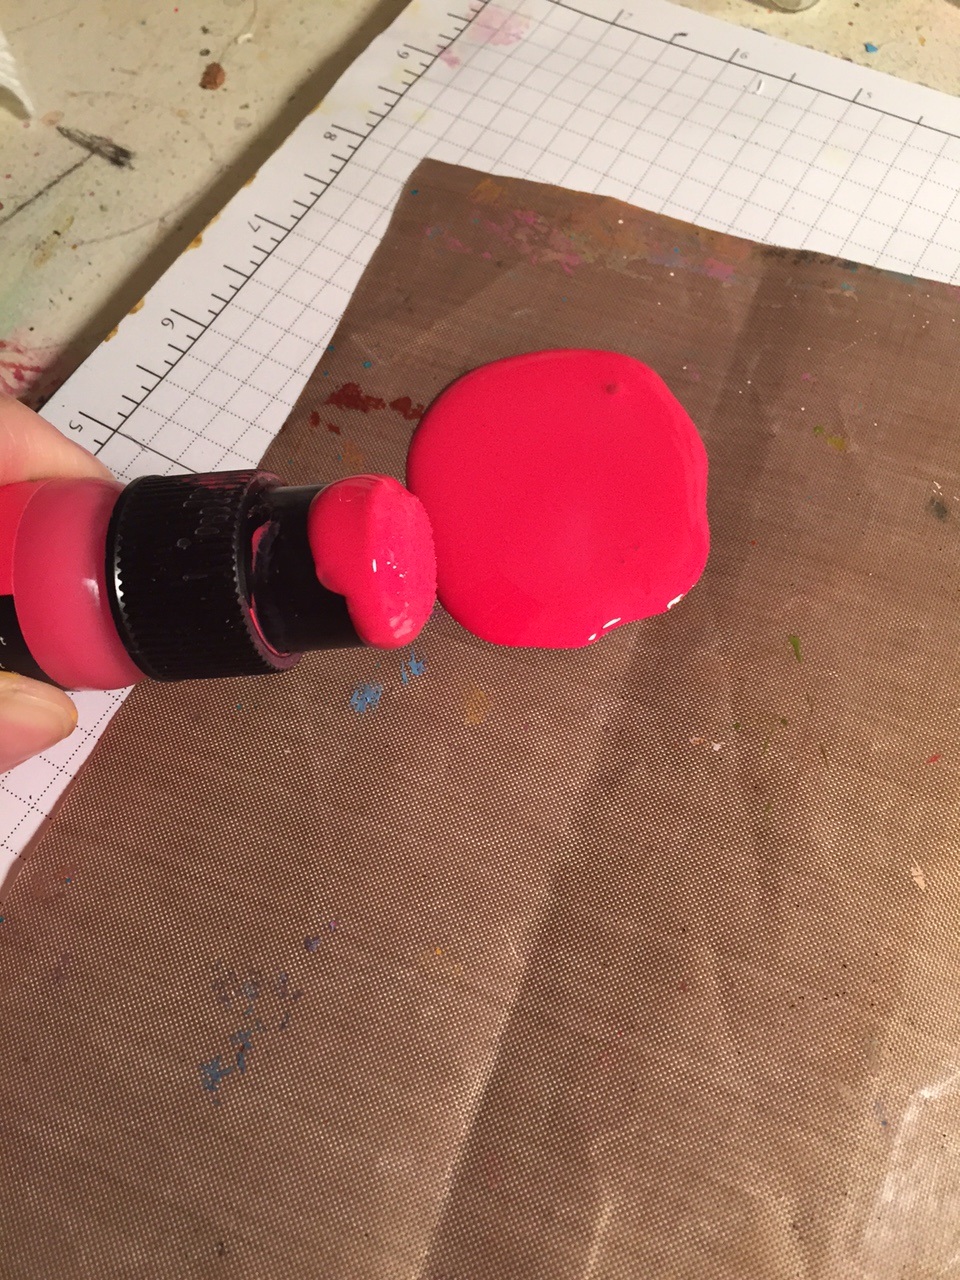
photo kime5_zps3df5231d.png  photo kime6_zpsa90859c6.png  photo kime7_zps9d2ef86d.png  photo kime9_zpsb23b4278.png
Showing posts with label embossing paste. Show all posts

Sunday, March 1, 2026

Stencil Techniques for Cards


Hi all! It's been another hot minute! LOL! It's taken me a few weeks to put together this video as I've been working around my 9-5 job as well as uploading more products loaded into my Etsy story and learning how to create YouTube shorts. It's all a bunch of fun but time consuming! 

That said, I am excited to share a new video and five new cards featuring background created with stencils. I am a huge fan of stencils and they are so much fun to use with a variety of products, from inks to sprays to pastes. All of the techniques shown in this week's video can easily be translated to art journals and scrapbook pages. 

I hope you enjoy the video - would love if you subscribed - and please visit my Etsy store, Paper Petals, and my brand new Facebook page that will feature product highlights, notices when videos are posted, sales, and more!

Enjoy and happy crafting!


Visit me in my Etsy store, where I sell new and gently used craft supplies for less! Also, head to my new store Facebook page and follow for news, product highlights, sales, product tips, more!

Paper Petals Etsy store

Twice Loved Facebook page

Supply List:

The stencils are no longer available, but I found designs that would work well for these techniques:

·       Make Art Station

Card One (Ink Blending)

·       Distress Oxide Ink

·       Concord & 9th Blended Petals stencil set

·       Concord & 9th Blended Petals die set

·       Concord & 9th Hello Lovely (the Blended Petals stamp set is no longer available, but this set would work well)

Card Two (Embossing Paste)

·       Wendy Vecchi Fancy Flowers stencil

·       Wendy Vecchi Classic Words stencil

·       Wendy Vecchi Essential Envelope Die Set

·       Altenew Ink Cubes

Card Three (Emboss Resist)

·       Long Leaves stamp set (Kristina Werner)

·       Concord & 9th Mix & Match Everyday Sentiments

·       Embossing Paste

Card Four (Alcohol Ink)

·       Specialty Stamping Paper

·       Alcohol Inks

·       Wendy Vecchi Heartfelt Art

·       Avery Elle Loads of Hello

Card Five (Ink Sprays)

·       Dylusions Ink Sprays

·       Concord & 9th Flower Shaker Shapes

Friday, February 10, 2017

Sweet 'n Sassy Release Day - Pretty Potted Florals

It's my favorite time of the month again..release week with Sweet 'n Sassy! This month, SNSS is releasing a wide variety of beautiful stamp sets, including a few floral sets, Creative Worship sets, and a new sentiment set. I'm in love with the new flower sets...they are so pretty! I'm looking forward to creating more projects featuring the new sets.

Today I'm sharing a project showcasing one image from the Pretty Potted Florals set and a custom sentiment created using a special set that will be released next month. Sneaky peek!

I created my card by first using embossing paste and a stencil to create the white on white background design. My potted flower was stamped on cardstock, colored with Zig Brush Markers, fussy cut, and attached to my text panel. The Hello was also stamped on cardstock and cut to fit the middle panel. I added a tiny yellow banner to hid the edge of the sentiment paper and tie in with the yellow in the flower. Quick card that would be super easy to mass produce. You can view the complete Sweet 'n Sassy stamp sets below along with links for where to purchase the supplies I used to create my card.


Happy Crafting!

Don't forget...
  • I still have some mystery boxes left for sale. Over $100 of products for only $39.99 + shipping. See full details here.
  • My Big Picture Class on stenciling is still available and membership only costs $9.95/month! See this link for more information.
Supplies:

Monday, January 25, 2016

Inspiration Wednesday Week 2

Happy Monday! It's a great day to make ART! Today I'm sharing my next Inspiration Wednesday project. Woot! Woot! (See the end of my post for supply list)

This week Donna impressed us with not just another wonderful art journal layout, designed to inspire and encourage, but she also had fun burning some of her pages! Seriously, her videos are so much fun to watch...you just never know what she's going to come up with or what technique she's going to try! The look of the burnt page edges is pretty darn cool...(PS - Always burn near a sink or big bucket of water!)

When I told my kids that I was going to try burning some of my pages, they almost fainted! "Mom!" they exclaimed, "You can't be serious! You're going to burn the house down!" LOL! Thankfully, I wasn't very successful with burning the edges of my pages as the flame would go out as soon as it hit the grunge paste. It was if the grunge paste wouldn't burn...maybe that's a good thing...
This week's lesson was all about paste, glaze, and clusters of goodness. I combined a whole bunch of trinkets on my left page, using an already gelli printed chipboard coaster as the base. That fun light bulb chipboard piece is from Blue Fern Studios...love their stuff! I also added a bunch of other fun goodies, such as a partial tag (see the burnt edge!), buttons, a piece of crinkly plastic, and material. The coaster was embedded into the wet paste and then the other elements were glued on top once the paste was dry, which took overnight.

Donna also experimented with mark making in wet paste. That was super fun and looks amazing once you had the glaze. (I used a combo of Golden paint and Glazing Medium to create the rust color)

The right hand page also featured some pieces of masking tape, also embedded in the wet paste, vintage text, another tag top, and a few other goodies. My sentiment, by Catherine Scanlon, is also featured on this page.
Now can we just stop a minute and talk about the inclusion. Do you see that circle in the middle of the inclusion? Oh man, that makes me do the happy dance. I LOVE it! It was created by accident when I was applying paste to the other side of the paper...this side ended up pressing into the coaster. When I pulled the paper up, that circle was left behind..swoon...Once the glaze was added, it appeared by magic. A few random numbers added to this page and this week's lesson was complete!

This was a really quick project to complete, once the paste was dry. There was a boatload of paste on these two pages and it look almost 24 hours for it to completely dry. 

I hope you enjoyed today's project and if you're interested in learning how to make projects like this one, sign up for Donna's Inspiration Wednesday videos...it's only $35 for the entire year! 

Supplies:
-PaperArtsy Grunge Paste (You can also use molding paste or Wendy Vecchi embossing paste, which is my preferred paste)
-Golden Fluid Acrylics - Quinacridone Nicket Azo Gold
-Catherine Scanlon Stamp - Words of Wisdom 3
-Blue Fern Studios Chipboard


Monday, September 21, 2015

If it doesn't challenge you...

Hi friends! I have a fun 8x10 canvas project to share with you today. This was a very simple project that came together in about an hour...grab your stamps and paint, and let's get started!

First, I want to share that I created this canvas piece to be a journal cover for my very first junque journal. Julie Fei-Fan Balzer teaches an online Junque Journal class, and I signed up for it last week. If you have tons of half painted papers hanging around your studio, you MUST sign up for this class! I was able to bind together almost 100 pieces of random papers into two journals. This is an amazing class given by an amazing teacher...Go sign up, just do it!

OK, back to our regularly scheduled program...
I started with a canvas panel from Dick Blick (you can buy these in bulk for short money, click here for the link), two Distress Paints (Wild Honey and Ripe Persimmon), and a water bottle.

I painted the top portion with the Wild Honey and the bottom with Ripe Persimmon. Then the entire canvas was spritzed with water (start at the top of the canvas). The Distress Paints react with water and beautiful mixing will take place...yummy. (I'm not sure why there are small open areas, where the paint didn't seem to cover completely, but I don't care...love the look!)
Next, I stamped this stunning, gigantic poppy image, from Donna Downey (You Are Important), on the canvas using VersaMark ink and embossing with Black Soot Distress Powder. Donna's stamps are perfect for art journaling and canvases because they are HUGE. This stamp is approximately 7" tall!
I painted the poppy image with more Distress Paint (Festive Berried and Abandoned Coral). I used a paint brush to apply the paint and then spritzed the still wet paint to get it to run outside of the lines of the flower. (Tip: When Distress Paint is dry it is permanent, it will not react with water so if you want the paint to flow, you must spritz while the paint is still wet.) After the paint was dry, I used a paint brush to outline the flower. Since I did the outlining by hand, vs. re-stamping the image, I got a nice painterly look. And now, for an important public service announcement...
I've taken countless classes with Tim (Holtz), and during every class he reminds attendees to NOT squeeze the paint bottles. "Don't squeeze the bottles, don't squeeze the bottles..." And every time, someone squeezes the bottle and paint goes all over the place. I teach classes, and shoot videos, all the while saying, "Don't squeeze the bottle..." Guess what I did tonight? I squeezed the bottle... Don't be like me...and do not squeeze those darn bottles!
After I cleaned up that big 'ol paint mess, I added some stenciling to my canvas. (I used Wendy Vecchi's Archival Inks for all of my stenciling.) The leaf stencil is from Wendy Vecchi, Lovely Leaves, and the number design is the Mini Number Repeat from Donna Downey. 
For the final step, I added more stenciling, using Wendy's embossing paste and the Believe Script stencil from The Crafters Workshop. I stamped the sentiment, included in the You Are Important stamp set from Donna Downey, and added a touch of Potting Soil Archival Ink, using a blending tool, to the edges. The sentiment is a bit further to the right than normal because this is going to be a journal cover and the binding will cover up a portion of the left hand side of the canvas. As soon as I get the journal together, I'll take a video to share the goodness! Oh, and I did add just a few tiny splashes of Festive Berries paint to the entire canvas!

Monday, June 1, 2015

Bloom Collage Lifebook Project

Hiya, strangers! I have a photo tutorial to share with you today...that's right...I crafted AND I'm blogging about it! LOL! This art journal page was inspired by the 2015 Lifebook classes.  Let's get started!
This is a small art journal, created by Donna Downey, size is 6" x 9". I started by covering both pages and the inclusion with Tim Holtz tissue wrap. I used Matte Medium for all of my gluing.
I used Distress Paint to cover both pages and the inclusion. Distress Paint is great for art journal backgrounds! The transparent nature of the paint combined with the thinner consistency makes for easy spreading, shading, and color.
I added a bit of texture using embossing paste (this is Wendy's white paste mixed with black gesso) and stencils from the Crafters Workshop.
I then added my designs, two giant poppies (designed by Donna Downey) to one of my pages. Both were stamped in Archival Ink. Stamping the designs first gave me guidelines for my collage.
Next...collage! I used designer papers, all with red being the main color, and torn into small pieces. More matte medium and lots of pieces of paper later, and my flowers were created!
I used a stamp positioner to restamp the poppy images so that flower design was still visible. I also added black collaged paper for the middle of each flower and green for the stems.
You'll notice on my finished piece that I got rid of that dark black, embossed text. It was too stark so I mixed gesso with some whater to whitewash over the black text. A baby wipe helped to blend the whitewash into the background and allow just a hint of the black to shine through. I added a bit of stamping (the crackle design) around the edges and on the inclusion, along with some shading around the flowers and on the art journal edges.
The quote was added using two Tim Holtz alphabet sets (just a little twitchy that my "pl" is a crooked...arrgghhhh) and highlighted with a white gel pen.
Both sides of the inclusion got just a hint of stamping (more Donna Downey designs) and a few quotes from one of Tim's word books.
That's it for me today, friends, hope you enjoyed the tutorial! 


Friday, March 6, 2015

Make ART Challenge - Stencils

It's that time again...time for the Wendy Vecchi Make ART monthly challenge!  This month the challenge was to use stencils.  And boy, oh boy, did I use some stencils in today's project!  Grab your favorite cuppa and get cozy because today's post is a long one!  (Step-by-step!)
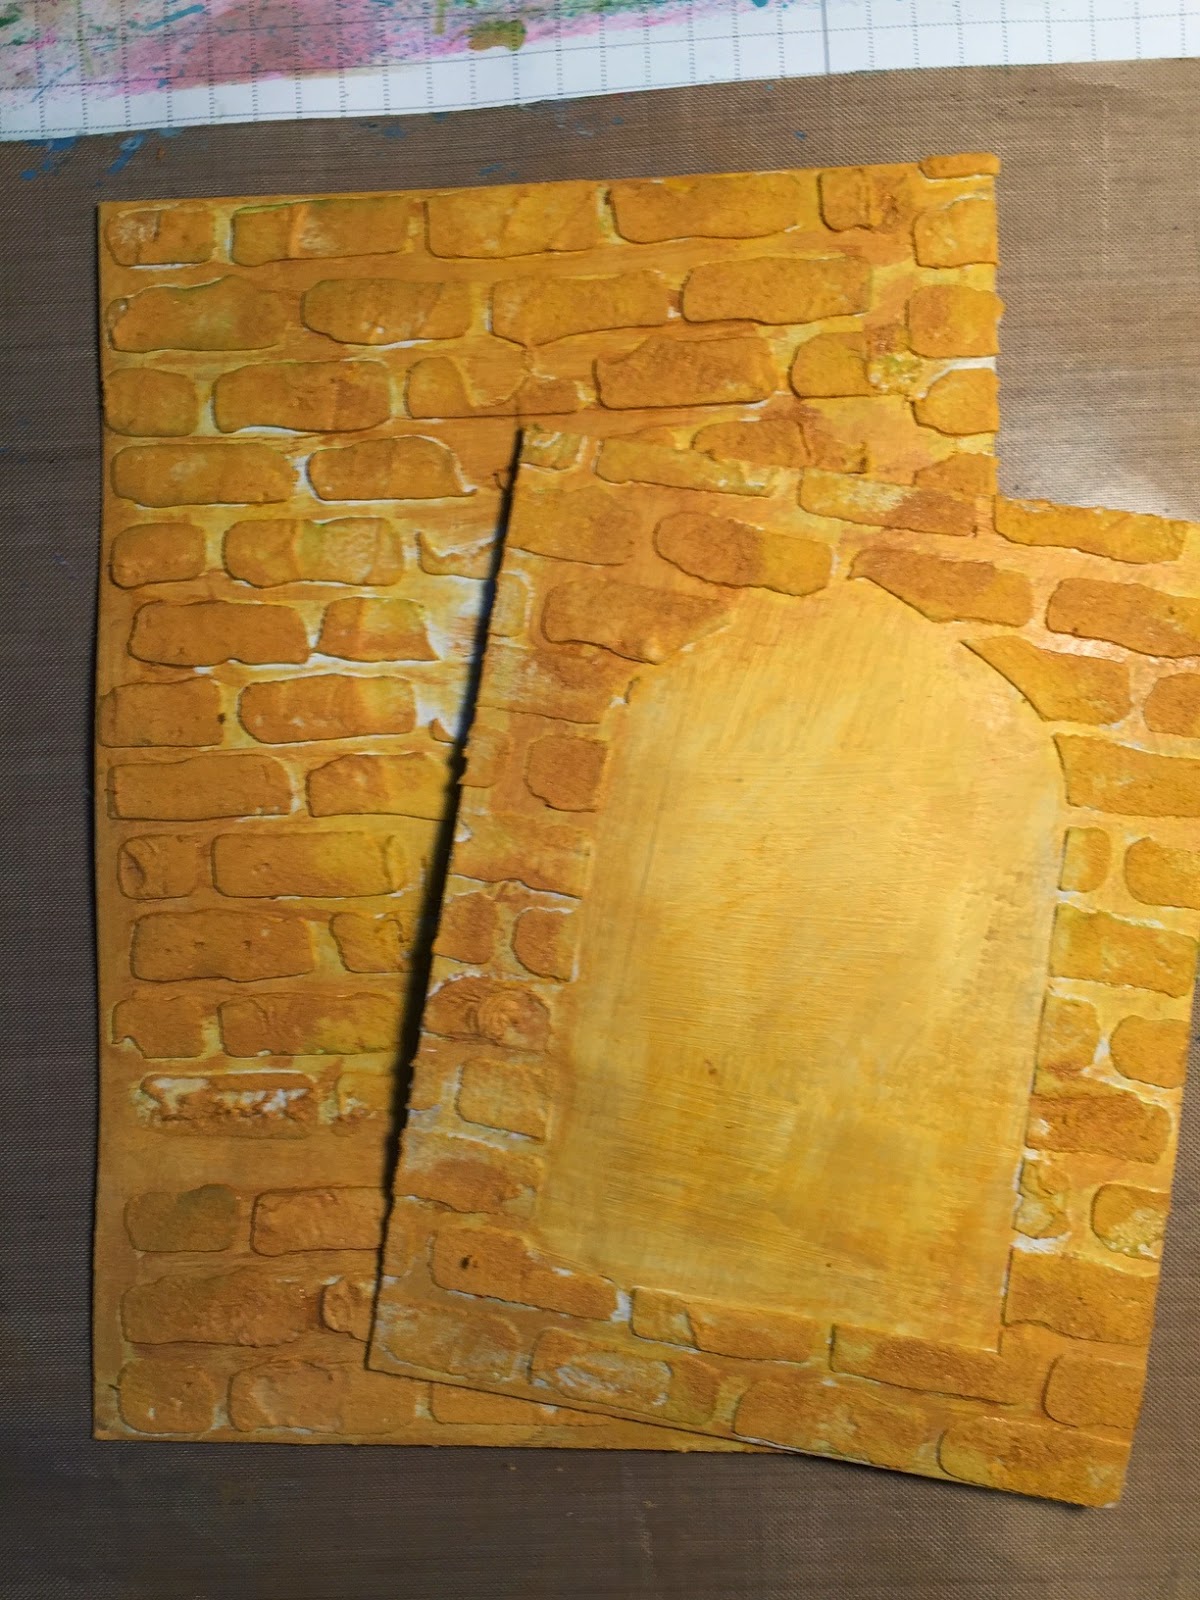
My project started with two pieces of gesso'd chipboard, Wendy's new Spotlight Frames and Mask, embossing paste, and brick stencil.  Using the brick stencil, I added embossing paste to my largest piece of chipboard.  On the smaller piece I knew that I wanted to create a cutout in the middle of the board...that's where the mask comes in handy!
 I placed the mask where I wanted it on my chipboard. 
 Then I layered the brick stencil on top of the mask and adding the embossing paste.
Once the mask was removed, I'm left with a perfectly clean opening!  Yeah!  (How do you like the green tint in my embossing paste?  That's what happens when you never clean your stencils...LOL!  No worries, this baby is getting a healthy dose of paint!)
Next came two rounds of paint...Wild Honey and Rusty Hinge Distress Paints.  Dab on and wipe around with a baby wipe...best coverage ever!  (And I like a tiny hint of white showing through...like chipped brick!)
Next...two rounds of Archival Ink..Potting Soil and Watering Can (I'm in love with Watering Can!) These were applied with an ink blending tool.
I used a graphite Stabilo pencil to add some shading to the window frame, Wendy's Mesh background stamp for inside the window, Vines background stamp for...well...vines on the outside of the window and the Tiny Bits stencil for the flowers.

Now here's where things get complicated...I started dinner, emailed Wendy and told her I had a creative block, cleaned the kitchen, got my kiddies in the shower, checked email, ran to the basement a few times to grab more products (yes, I shop from my own store...too frequently...LOL!), and finished my project...all without taking another photo!
Here's the finished piece!  I used Wendy's new Passion for Art stamp set for the face, and License Plate Art for the wish sentiment.  The bird is from the Vintage Floral stencil and the crown and glasses are both Blossom Bucket embellies.  The butterflies are from a Martha Stewart punch and are punched from some scraps I keep on hand for just such occasions.  I also added some stenciling, using the Everyday Words stencil, to the background of my piece.  Oh, and I added a shelf!  You can thank Wendy for that idea...Isn't that fun!  Of course I'm not sure many queens (yes, she's gazing out on her kingdom) store their crowns on a window sill, but perhaps the crow will keep an eye out for thieves and scoundrels who are looking to steal a queen's jewels...

The Make ART Challenge runs until the end of March...and prizes are involved!  Head on over and check out all of the details!  Enjoy!


Friday, January 23, 2015

Choose Joy

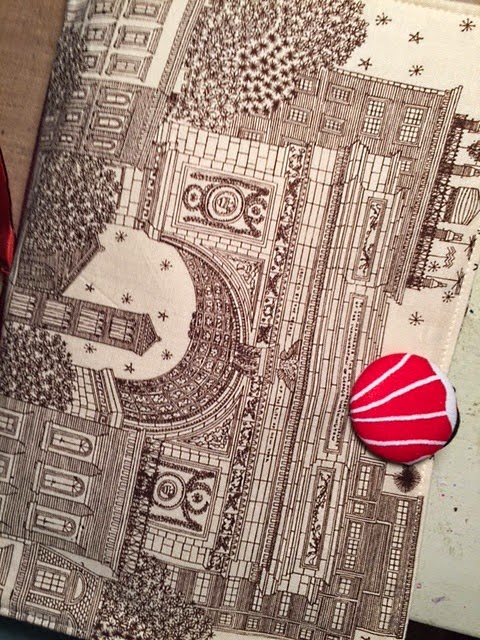
I spent part of the weekend with some of my favorite art supplies...Wendy Vecchi embossing paste, stencils (from Donna Downey and Seth Apter), and Dina Wakley paints...and I created a fun new art journal page.  To start, I picked up a Donna Downey art journal before Christmas (Merry Christmas to me!) and I love it...check out the pretty fabric cover...
 This is a small journal...around 6x9...and I love the smaller size; feels much more manageable when creating vs. tackling a 9x12 or larger piece of paper.  Also, the inside pages are super thick and sturdy and each page has an inclusion.  I'm really happy with this journal and imagine I'll be purchasing more of them in the future.

 A few weeks ago, Donna included a photo of one of her projects in a recent email blast about her new Inspiration Wednesday videos.  I loved the texture of her piece so I set out to create something similar.  I don't know how Donna created her piece, but these are the steps that I took to make my pages.  


I started by using a palette knife to add embossing paste over the entire background of my page and the inclusion.  I allowed this to dry overnight (it was thick!)  I then went back and used stencils and more embossing paste to add a second layer.  Allow to dry overnight.  Next, I gesso'd over all of the pages and paste.  Once that I was dry, I added my paint, starting with Dina Wakley's Night.  Once the first paint layer was dry, I mixed Dina's Turquoise paint and glazing fluid together (equal parts) and applied the paint over almost all of the Night painted pages.  Allow the Turquoise to sit for about a minute and then use a baby wipe to remove some of the Turquoise paint.  (This is a technique I learned from Donna Downey)
 The last layer was a combination of Dina's Tangerine paint mixed with Golden's Burnt Sienna.  This layer was lightly brushed on and then I used a baby wipe to blend.  The last thing I did was add a quote (from a Wendy Vecchi stamp set) and date tag, ala Donna Downey.  (I have to share that I love adding those dates tags...it is so much fun to go back through your journal pages and see what you were creating on a certain date.  Very cool way to see how your art progresses.)
When I finished both pages I thought, "hey, this looks like a Seth Apter page!"  Just goes to how we're influenced by the artist's work we most admire.  This ended up reminding me of the 52 Card Pick Up class that I took with Seth...very similar colors...and the texture is all Donna Downey.  And I love all of the texture...embossing paste to the rescue, that stuff is AWESOME, thank you Wendy Vecchi!  Now that my first pages are done, it's time to get to work on the rest of my journal...

Thursday, January 8, 2015

Make ART Challenge #1 - Embossing Paste

Yippee!!!  Today is the official launch of the new Wendy Vecchi Make ART Challenge blog!  I am so excited to be helping Wendy out with the blog and even more excited to be highlighting her amazing artistic talents!!  Today's challenge is all about exploring the joys of embossing paste (I LOVE it!) and you can read all of the details about the challenge here.  I also have a quick photo tutorial for you today, showing you how I created my card.

  Use a blending tool to apply Scattered Straw and Tumbled Glass Distress Ink to a piece of cardstock (pre-cut to standard card size).
Use Wendy's Dots and Dashes background stamp to lightly stamp on the background in Jet Black Archival Ink.  Set aside.
Stamp the vintage lace image from the Say It With Art stamp twice on a piece of book text (use Archival Ink).
Make hills out of the lac image!  WooHoo!!  (I also added a bit of script text to my card background, using Pumice Stone Distress Ink).  After I added the hills, I used a blending tool and the Sunburst stencil to add the sunbeams, and of course added Gathered Twigs to all edges.  Here comes the fun part!
  I used the Potting Soil and Fern Green Archival Ink Pads and smooshed them on my non-stick craft sheet.  Then I added a blob (don't you love my technical terms?) of white embossing paste to the ink.  (You can also do this same technique using re-inkers)  Mix the embossing paste with the ink...Voila...instant custom embossing paste colors!  Now I can stencil...
Using the Layered Tree stencil and my custom colored embossing paste allowed me to add a beautiful tree to the front of my card.  Wouldn't the tree be pretty in fall colors too?!  Be sure to store your extra paste in some of Wendy's Mix 'n Store jars.  Now I just need to add the finishing touches...
  I added a sentiment from the Forever Art stamp set, a bird from the License Plate Art stamp set, and a heart (embossed with Wendy's Red Geranium embossing powder) from the Little Bits stencil.  Once finished, attach the piece to a black card base. 
I hope you enjoyed today's tutorial and please be sure to check out the challenge on the NEW blog...Wendy is showing off many new products and there's a prize up for grabs!!