


Hi friends! I have a fun 8x10 canvas project to share with you today. This was a very simple project that came together in about an hour...grab your stamps and paint, and let's get started!
First, I want to share that I created this canvas piece to be a journal cover for my very first junque journal. Julie Fei-Fan Balzer teaches an online Junque Journal class, and I signed up for it last week. If you have tons of half painted papers hanging around your studio, you MUST sign up for this class! I was able to bind together almost 100 pieces of random papers into two journals. This is an amazing class given by an amazing teacher...Go sign up, just do it!
OK, back to our regularly scheduled program...

I started with a canvas panel from Dick Blick (you can buy these in bulk for short money, click here for the link), two Distress Paints (Wild Honey and Ripe Persimmon), and a water bottle.
I painted the top portion with the Wild Honey and the bottom with Ripe Persimmon. Then the entire canvas was spritzed with water (start at the top of the canvas). The Distress Paints react with water and beautiful mixing will take place...yummy. (I'm not sure why there are small open areas, where the paint didn't seem to cover completely, but I don't care...love the look!)

Next, I stamped this stunning, gigantic poppy image, from Donna Downey (You Are Important), on the canvas using VersaMark ink and embossing with Black Soot Distress Powder. Donna's stamps are perfect for art journaling and canvases because they are HUGE. This stamp is approximately 7" tall!

I painted the poppy image with more Distress Paint (Festive Berried and Abandoned Coral). I used a paint brush to apply the paint and then spritzed the still wet paint to get it to run outside of the lines of the flower. (Tip: When Distress Paint is dry it is permanent, it will not react with water so if you want the paint to flow, you must spritz while the paint is still wet.) After the paint was dry, I used a paint brush to outline the flower. Since I did the outlining by hand, vs. re-stamping the image, I got a nice painterly look. And now, for an important public service announcement...
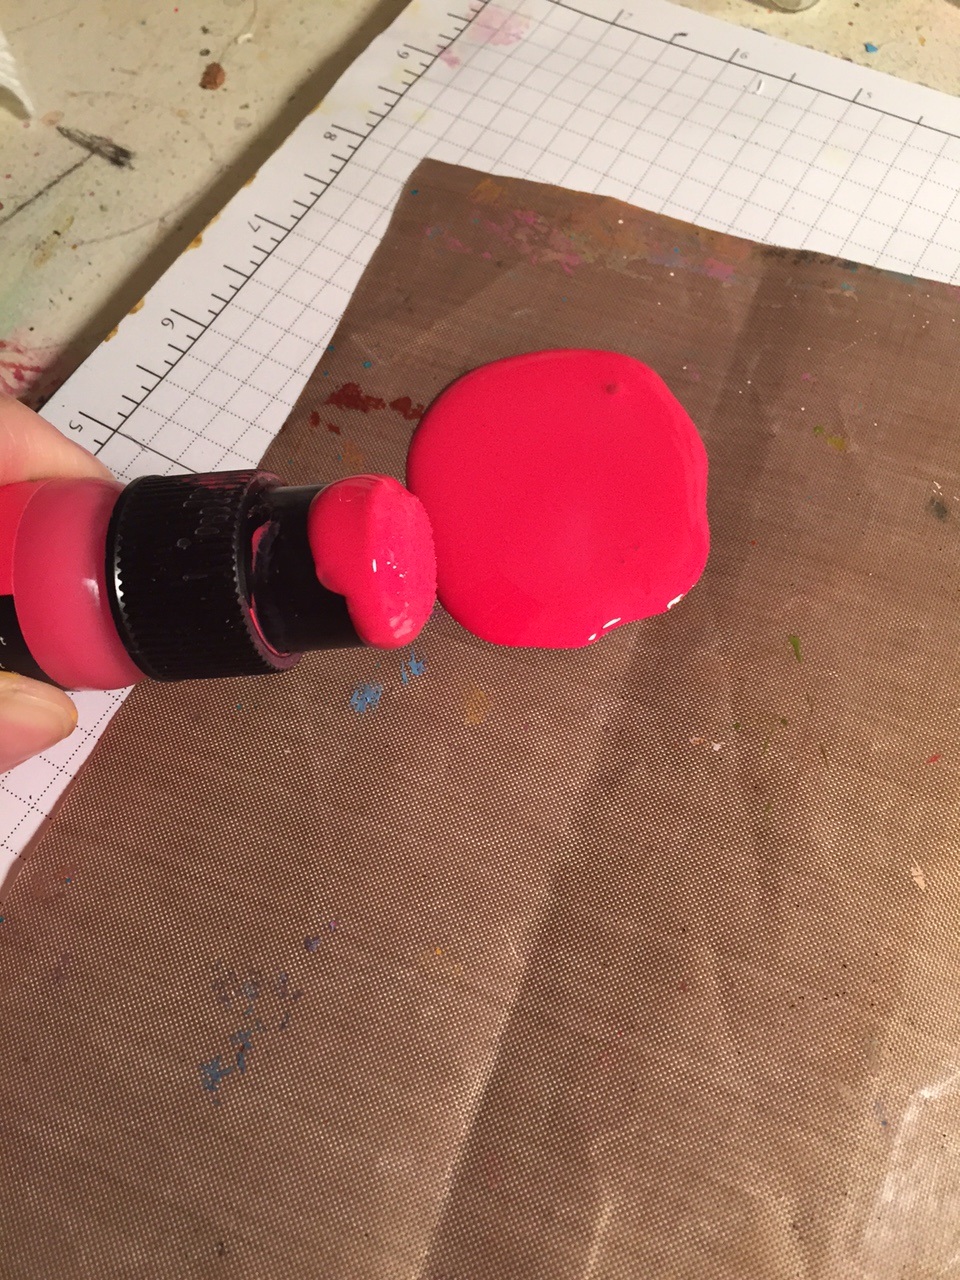
I've taken countless classes with Tim (Holtz), and during every class he reminds attendees to NOT squeeze the paint bottles. "Don't squeeze the bottles, don't squeeze the bottles..." And every time, someone squeezes the bottle and paint goes all over the place. I teach classes, and shoot videos, all the while saying, "Don't squeeze the bottle..." Guess what I did tonight? I squeezed the bottle... Don't be like me...and do not squeeze those darn bottles!

After I cleaned up that big 'ol paint mess, I added some stenciling to my canvas. (I used Wendy Vecchi's Archival Inks for all of my stenciling.) The leaf stencil is from Wendy Vecchi, Lovely Leaves, and the number design is the Mini Number Repeat from Donna Downey.

For the final step, I added more stenciling, using Wendy's embossing paste and the Believe Script stencil from The Crafters Workshop. I stamped the sentiment, included in the You Are Important stamp set from Donna Downey, and added a touch of Potting Soil Archival Ink, using a blending tool, to the edges. The sentiment is a bit further to the right than normal because this is going to be a journal cover and the binding will cover up a portion of the left hand side of the canvas. As soon as I get the journal together, I'll take a video to share the goodness! Oh, and I did add just a few tiny splashes of Festive Berries paint to the entire canvas!
I hope you enjoyed today's project! Be sure to check out the details of my Art Journaling Made Simple class, coming up on October 3 from 1-4 pm. Info listed below:
If you've been intrigued by the idea of art journaling or have recently jumped into this wonderful form of creating, but are overwhelmed by all that's involved...this class is for you! This class is perfect for beginners and intermediate students.
During our four hour class, we'll create three different art journal pages. I'll walk you through the steps taken to create beautiful, quick and easy backgrounds using a variety of mediums, such as Distress Paint and embossing paste. We'll also discuss which tools you'll need to produce the best results, along with providing you with a quick list of some of my favorite go to products. Lastly, I'll teach you how to create beautiful collages and art in your journals.
Also during the class, I'll demonstrate a number of techniques, such as gesso resist and coloring pastes. We'll work with ink sprays, acrylic paints, Distress products, collage, embossing pastes, and stencils. Our goal for the day is not only to experiment, learn, and have fun, but to also show you how easy it is to create beautiful art work, quickly and easily! The added bonus? The class includes an 8"x5" Dylusions journal!
The cost for this class is $50.00. Please email Kim at ksdm@comcast.net to register, an electronic invoice will be generated once your request for registration has been received. A supply list will be sent once payment has been received. Please note that class fees are non-refundable after September 28, 2015. Registration will close on October 1, 2015...Registrations received on or after October 1 will receive their journal after the class.
Class location: Fremont, NH
Date: Saturday, October 3
Time: 1:00-5:00 pm
Date: Saturday, October 3
Time: 1:00-5:00 pm
Available spots left: 3
Cost: $50 (includes 8"x 5" journal)


