It's that time again...time for the Wendy Vecchi Make ART monthly challenge! This month the challenge was to use stencils. And boy, oh boy, did I use some stencils in today's project! Grab your favorite cuppa and get cozy because today's post is a long one! (Step-by-step!)
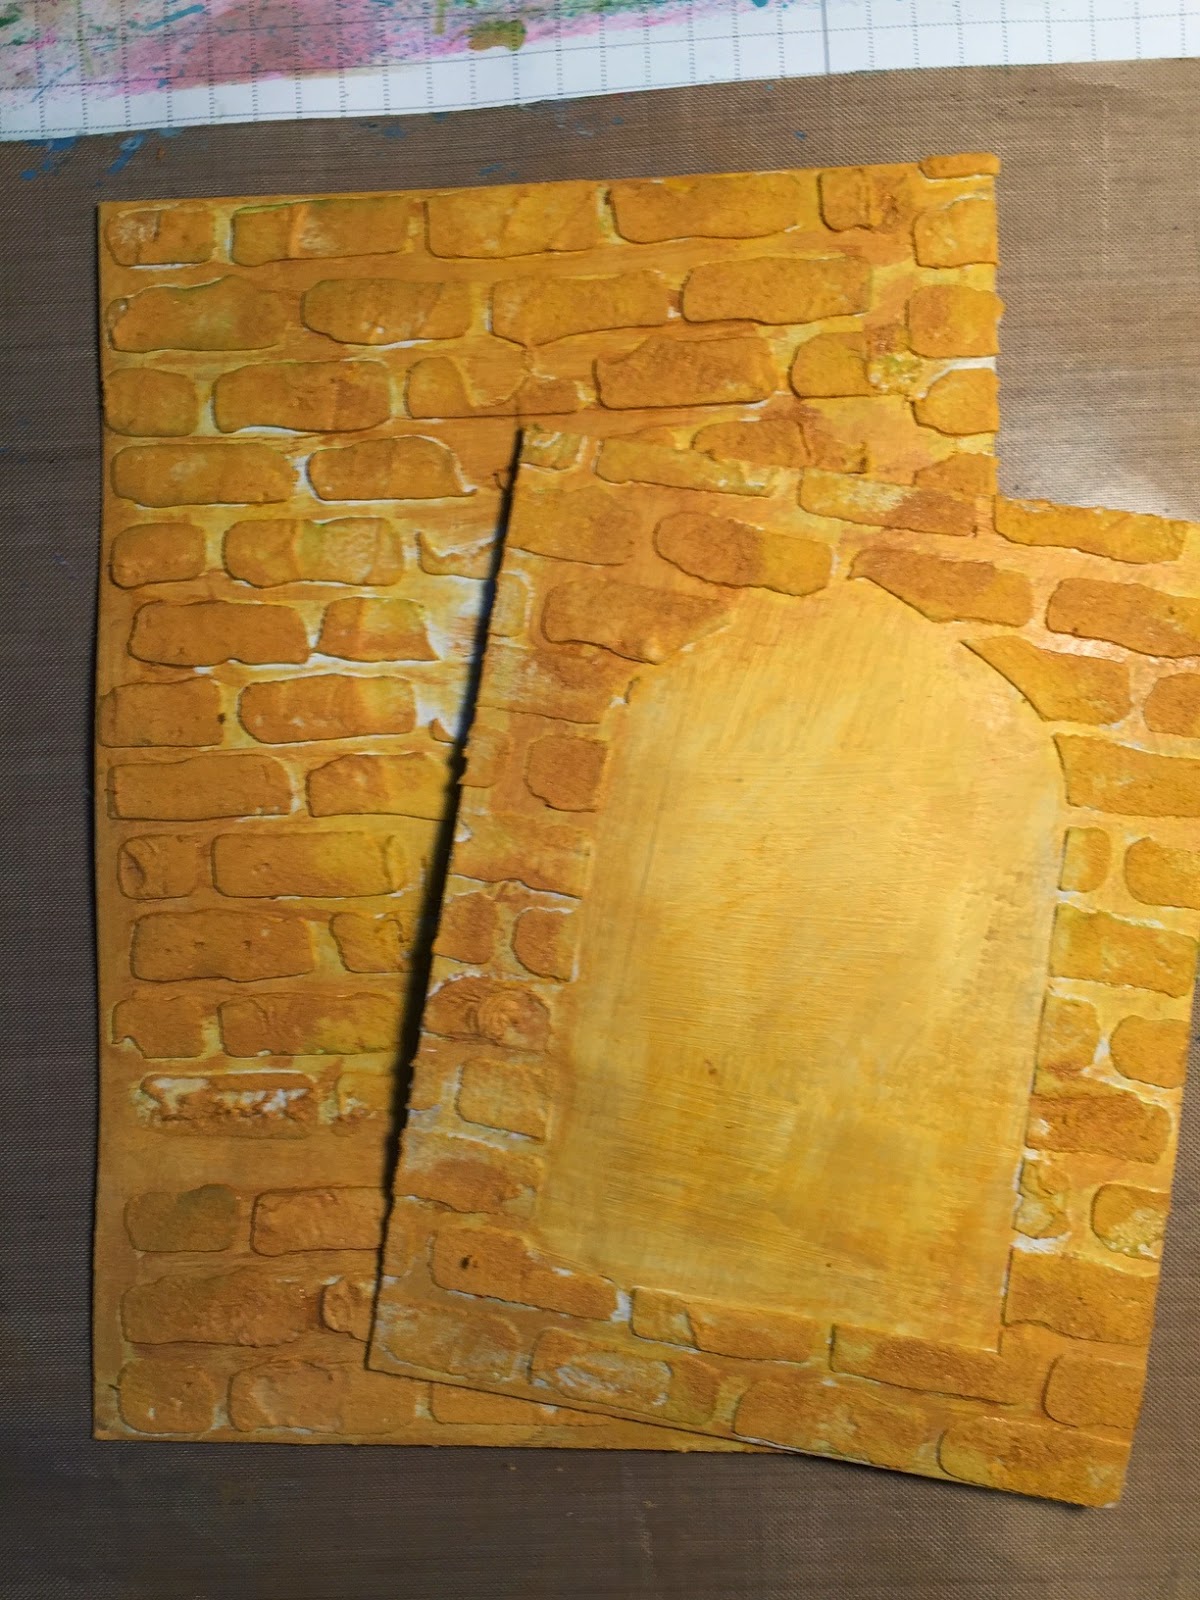
My project started with two pieces of gesso'd chipboard, Wendy's new Spotlight Frames and Mask, embossing paste, and brick stencil. Using the brick stencil, I added embossing paste to my largest piece of chipboard. On the smaller piece I knew that I wanted to create a cutout in the middle of the board...that's where the mask comes in handy!
I placed the mask where I wanted it on my chipboard.
Then I layered the brick stencil on top of the mask and adding the embossing paste.
Once the mask was removed, I'm left with a perfectly clean opening! Yeah! (How do you like the green tint in my embossing paste? That's what happens when you never clean your stencils...LOL! No worries, this baby is getting a healthy dose of paint!)
Next came two rounds of
paint...Wild Honey and Rusty Hinge Distress Paints. Dab on and wipe
around with a baby wipe...best coverage ever! (And I like a tiny hint
of white showing through...like chipped brick!)
Next...two rounds of Archival Ink..Potting Soil and Watering Can (I'm in love with Watering Can!) These were applied with an ink blending tool.
I used a graphite Stabilo pencil to add some shading to the window frame, Wendy's Mesh background stamp for inside the window, Vines background stamp for...well...vines on the outside of the window and the Tiny Bits stencil for the flowers.
Now here's where things get complicated...I started dinner, emailed Wendy and told her I had a creative block, cleaned the kitchen, got my kiddies in the shower, checked email, ran to the basement a few times to grab more products (yes, I shop from my own store...too frequently...LOL!), and finished my project...all without taking another photo!
Here's the finished piece! I used Wendy's new Passion for Art stamp set for the face, and License Plate Art for the wish sentiment. The bird is from the Vintage Floral stencil and the crown and glasses are both Blossom Bucket embellies. The butterflies are from a Martha Stewart punch and are punched from some scraps I keep on hand for just such occasions. I also added some stenciling, using the Everyday Words stencil, to the background of my piece. Oh, and I added a shelf! You can thank Wendy for that idea...Isn't that fun! Of course I'm not sure many queens (yes, she's gazing out on her kingdom) store their crowns on a window sill, but perhaps the crow will keep an eye out for thieves and scoundrels who are looking to steal a queen's jewels...
The Make ART Challenge runs until the end of March...and prizes are involved! Head on over and check out all of the details! Enjoy!


