photo kime5_zps3df5231d.png  photo kime6_zpsa90859c6.png  photo kime7_zps9d2ef86d.png  photo kime9_zpsb23b4278.png
Showing posts with label dina wakley. Show all posts

Sunday, September 7, 2025

Hey, Birthday Girl Scrapbook Layout


Hi all! I hope that everyone out there in blog land is doing well and have been able to get your crafty on this past week! Crafting is a rather slow process for me now, as I only have a few hours each week to devote to making pretty things and using fun products, but I'm glad that I was able to create this page. Funny, my birthday is in mid-August, when I started this page, and I just finished it a few days ago. Phew! That said, is was joyful to be able to create and to contemplate what drove this page...my last year in my 50's! I can hardly believe it, but next year I turn 60! When the Bible says that live is but a vapor...I think it might have been an exaggeration. LOL! It feels like less than a vapor lately - time is passing more and more quickly the older I get. But, I am so grateful for another year of life - what a tremendous blessing!

As with my last page, this one features a lot of older products, but some newer ones as well. I'm fortunate to live fairly close to the Butterfly Reflections Ink stamp store and so after I shop I create a basket of new goodies that need to be used. Some of the dies on this week's project are from that "new to me" basket.  

And now for true confessions - this picture was from a few years ago. *wink* I had to laugh as I was looking through my photos, realizing that not only are there not many photos of me, there are even fewer with just me and even less of just me that are worth putting on a scrapbook page. LOL! This was a random selfie I took a few years ago on a business trip. It was more about capturing the moment to post on Instagram, with other photos from the trip, vs. just taking a picture but I thought that the bright yellow shirt worked with the yellow in the paper so this is the one I choose. 


I hope you enjoy this week's page! I actually just ordered a new stamp set so maybe a card video will be up next... Check out the full project video below and happy crafting!


Supply List:
-Patterned paper (similar to my page)
-Kristina Werner (Concord & 9th):
-Altenew Craft a Flower: Rose Die
-Avery Elle: Loads of Hello Stamp Set & Stencil
-Alphabet Stamps (this is a great set!)


Wednesday, February 13, 2019

Stampotique Guest Designer - Art Journal Layout


Greetings and welcome back to week two of my Stampotique guest designer post! This week our challenge is all about pets and I cracked up when I saw the sentiments in the stamp that I used with today's project. It's the perfect match to go with this darling cat image. If you have cats, you know exactly what I'm talking about! LOL! Today's project was a super simple project that I combined with some scrap paper I created years ago at a gelli plate glass. Don't throw out those papers...you'll use them eventually! I also have another video for you this week so sit back, relax, and enjoy the show! Happy Crafting!


Products:
-Brushes - The brushes are still available!

Wednesday, February 6, 2019

Stampbotique Guest Designer - Art Journal Layout


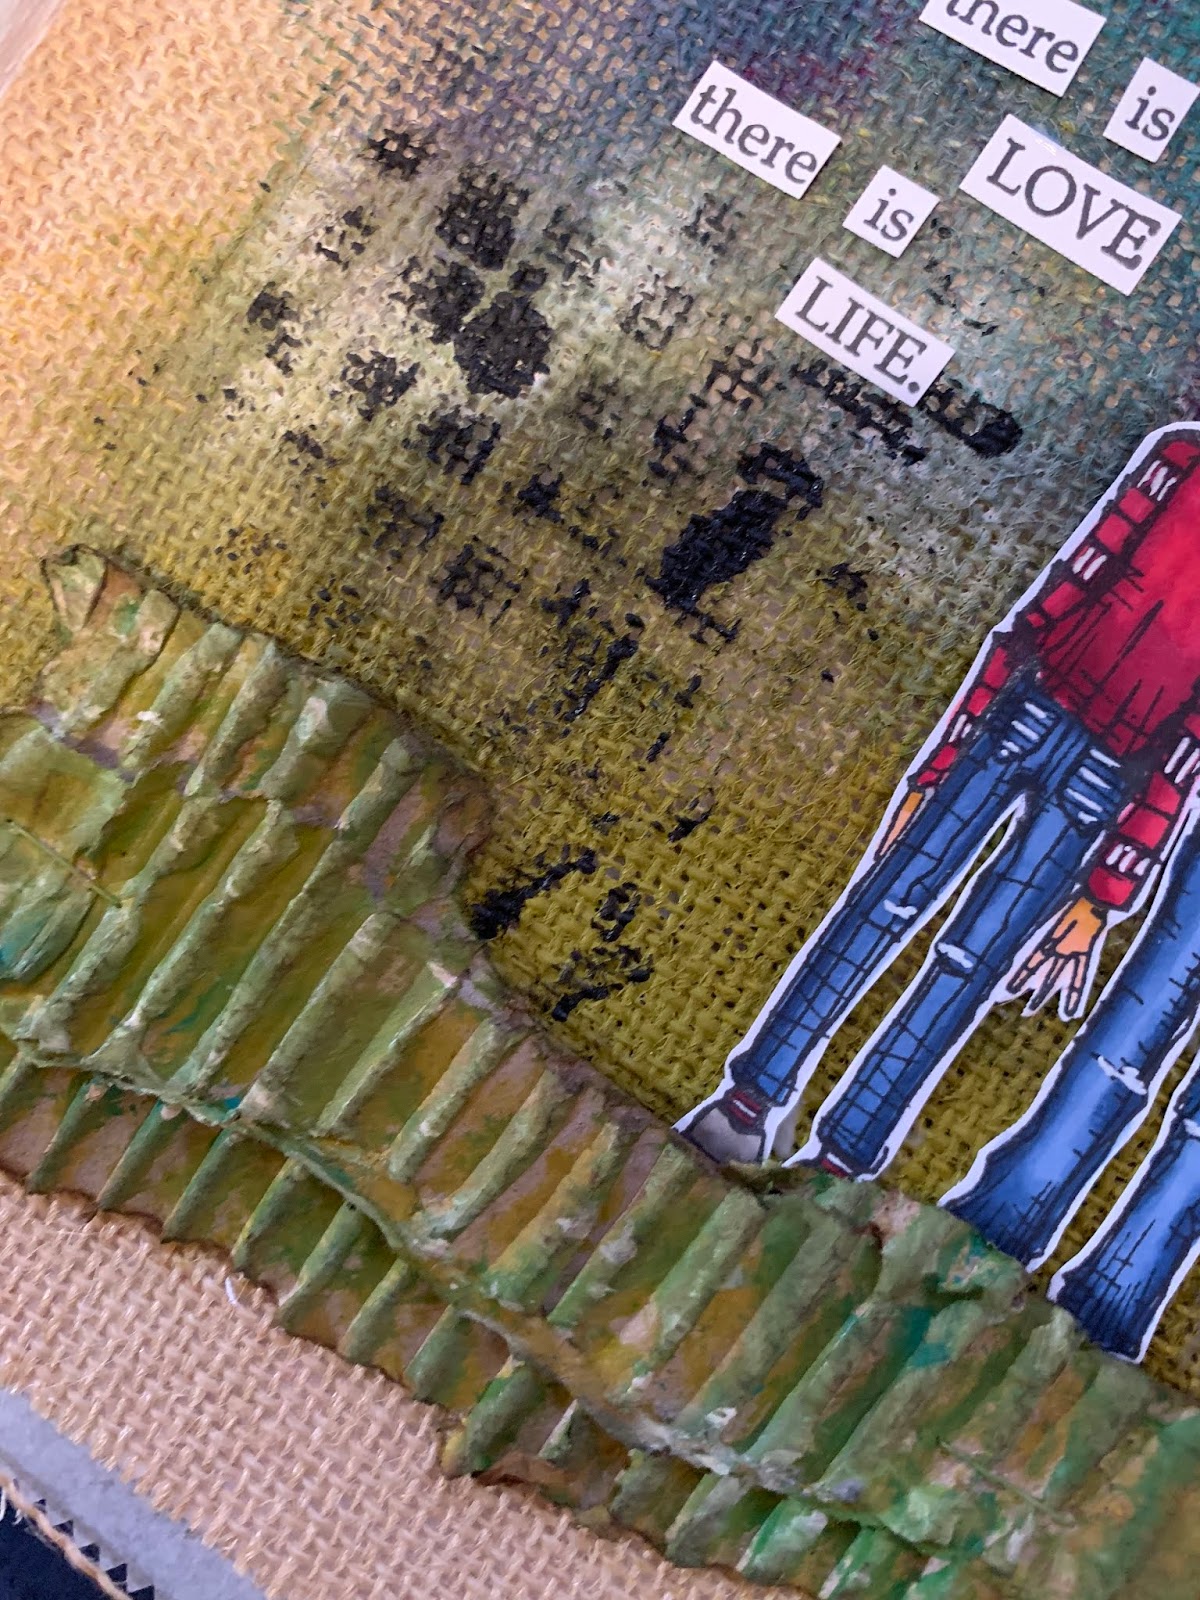
Hello friends and welcome to this week's project! I'm so excited to be a guest designer for Stampotique for the month of February. During this month, I will be posting a project every week so be sure to check back next week! Each week Stampotique includes a theme or challenge for their posts and this week it was to use cardboard in your project. I opted to create an art journal layout using products from Dina Wakley and Stampotique. And to make these super easy, I have a step-by-step video for you to watch to see how this project came together. Product links below the video. Thanks so much to Stampotique for the opportunity to use their lovely stamps for this month! Happy crafting!


Products:
-Brushes - The brushes are still available!

Wednesday, October 22, 2014

Chirp

A quick and easy tag I created when Dina Wakley first released her new paints and those sweet Scribbly bird stamps, which are nearly impossible to find now.  Darn!  They were big sellers!  Dina demo'd a tag in a video and this was my take...

I created the background by using a brush and a combination of Turquoise, Sky, and Night paint to color the background.  I then used my fav Classic Words stencil, from Wendy, to add another layer, along with a spritz of Dylusions White Linen through the Canvas stencil.  The birdie was stamped on a separate piece of cardstock and colored with paint.  The text created a branch for the bird to stand on; this kept him from looking like he was floating.  I then just added the tweet and chirp and a few more text circles.

Enjoy!

Friday, October 17, 2014

Leave Ordinary Behind

Hi all!  In an effort to get some of my many projects, created over the past two years, posted on my blog, I'm going to start sharing the art without a lot of commentary on how I created each piece.  This will hopefully get me back to a fairly regular posting schedule...at least until eclectic Paperie is fully closed.  Speaking of closing...everything in the store, with the exception of clearance items and our kits (kits are 20% off), is now 30% off!  Yippee!  Use code EP30 when checking out.

The eye chart design on the background of the page was created using the Eye Chart Layering Stencil and White Embossing Paste.  Once the paste was dry, I used Dylusions Ink Sprays for my second layer (the paste resists the ink sprays!)  I used a stencil and Gathered Twigs ink for my third layer and then added the sentiment, stamped on kraft cardstock, and a few text circles.  The figure is an older Dina Wakley stamp, which you can find at Stampington.

Enjoy!

Monday, September 8, 2014

Hold on Tight to Your Dreams

I created a new tag over the weekend, featuring a Gelli Plate background.  Video demonstrating my technique below!  Enjoy!


Monday, July 7, 2014

Art Journaling - Wonderful Life

Hi folks and welcome to Monday!  I'm back with another journal page, created from the many store samples I made when offering a make 'n take a few months ago.  If you compare this page with the one I posted here, you'll notice that the backgrounds are similar...One to two colors with some black on the edges and simple stenciling in the background.  I've found that this is the best way to start a page...keep your backgrounds simple and then layer.  You'll never be disappointed!  (And if you are...just gesso!)  

The stamped design on the edges of this page, in black, are from Dina Wakley's Textures stamp set.  (See all product links at the end of my post).  The circles are just the top of a Distress Paint bottle, dipped in black paint and Dylusions White Linen ink spray.  Easy peasy!

My top layer involved a simple tag.  You can see that the tag already had some blue ink on it, probably from some other project I started a while ago, and I just used a Tim Layering Stencil to add some design to the tag background.  I then stamped a flower from a Wendy Vecchi stamp set on to the tag, which was colored with Copic Markers.  I stamped the same flower a second time, on plain cardstock, and colored again.  The second flower was then cut out and attached to the tag.  I ripped the bottom portion of the tag and then used a blending tool to age all of the edges before attaching to my art journal page.  The torn bottom piece of my tag was attached, using the Tiny Attacher, to the upper right hand side of the page.  All of the words and the butterfly are all part of a package of Remnant Rubs.  Super quick page to create...Enjoy and hope today's post has inspired you to create something new today!  (Product links below)

Supplies:
I used an older Wendy stamp but a number of her new sets would work perfectly!
 

Wednesday, July 2, 2014

Art Journaling - Where There is Love

I confess that I was a bit slow to grab hold of this whole art journaling thing.  Truth be told, when I first bought the store (eclectic Paperie), I'd never even heard of folks like Dina Wakley and Christy Tomlinson and the idea of using paint and ink sprays to make journal pages was foreign to me.  I was a card maker and for some reason thought that's what I'd always be.  But the eP customer base was hot for mixed media projects and products so I figured if I was going to sell it then I'd better start using the products.  It was kind of a rocky start, boy did I make a lot of muddy pages, but I kept taking classes, watching blogs, and playing with the products.  And I have never had SO. MUCH. FUN.  I love this type of creating, love journaling, love every single bit of this type of artwork.  Swoon...

I have a bunch of projects, just pages I've created here and there that I've never shared and I'm trying to get better about consistently blogging so here's the first of one of those pages!

This page started as a free make 'n take that I offered in the store, using Dylusions Ink Sprays and stencils to create background pages.  All we did during the make 'n take was spray a page, use a stencil, and added a few stamped images (need that neutral in the background!)  After the make 'n take, I came home with a ton of this colorful pages, just begging for more!  (You can find all product links at the end of this post).

To this page, I added a drip of hot pink ink spray...love the contrast of the pink against the yellow/orange.  I then stamped one of Dina's scribbly women on a piece of watercolor paper and used watercolors for filling in the face and shirt.  A punched butterfly made the perfect hair accessory!  For the tag, I spread Distress Ink on to a stencil, spritzed the stencil with water, and pressed the stencil on to the tag...great technique and I love the look.  Then I glued the tag to my page, added a few pieces of tissue tape, and layered the image on the tag.  I then stamped the sentiment on another tag, cut out the individual words and applied to the tag.  I think this baby may be one of my favorites...

Enjoy today's page and dip your toe into the art journaling pond...the water is fine...(product links below!)


Wednesday, June 25, 2014

Be Fearless

Today I'm sharing a project that I created during a class with Dina Wakley, which I attended last year.  The focus of the class was on understanding color, an area where I struggle with when it comes to art journaling, which makes me giggle since I have no issues with this when it comes to card making.  I think much of has to do with me being so darn excited about creating journal pages that I grab way too much stuff and struggle with knowing when to stop applying color, design, and layers!  WooHoo!

During the class, Dina talked about the color wheel and using colors that complimented each others and those that were on opposite sides of the color wheel (if you don't have a color wheel, get one, it's really a helpful tool!)  We created a bunch of color combinations in the beginning of the class before we started working on the journal pages.  We created two pages and this one has become one of my favorites...I love the background color and contrast of the deep blue.  Hey, I did it...two color families and a neutral!  Yippee!

 
We started by using deli paper (get some of this stuff, it's awesome!), paint, and stencils to create a sheet of patterned paper.  Once that was dry, we cut out random shapes; since I'm a fan of circles, that's what I went with.  Then we created the background of the journal page, using a contrasting color.  (Orange and blue are on opposite sides of the color wheel).  I used only colors next to each other on the color wheel to create the background colors (yellow, red, orange).  Once the color was dry on the page, then I added the deep blue/purple circles (again, colors that are next to each other on the color wheel).  Then it was time to add additional designs and neutral colors.  Black is my favorite neutral as it really pops on a page.  I used paint in a bottle with a pointed tip to draw the fern image and write the words "be fearless" and a watercolor pencil to draw around the circles.  I then cut out text paper to fill in the leaves.  Lastly, I just added some stenciling.  Again, using black and my background orange color.  (Oh, and I added some tiny white dots 'cause I like dots!)

This was a really fun project...learning to play with color is great stuff!  Grab a color wheel, art journal, stencils, and some paint and experiment...be fearless!  (Product supply below)

Supplies:
Dylusions Art Journal
Acrylic Paint
Classic Words Stencil (from Wendy Vecchi)
Various Crafters Workshop Stencils

Monday, June 16, 2014

Dylusions Ink Sprays - A Quick and Easy Art Journal Page

I created a quick and easy art journaling inclusion using Dylusions Ink Sprays and stamps by Dina Wakley and Wendy Vecchi (oh, and a sweet little tag created by my oldest son...).

I created a video to document my process and to show you how easy it is to create simple backgrounds with ink sprays.  Watch the entire video below: