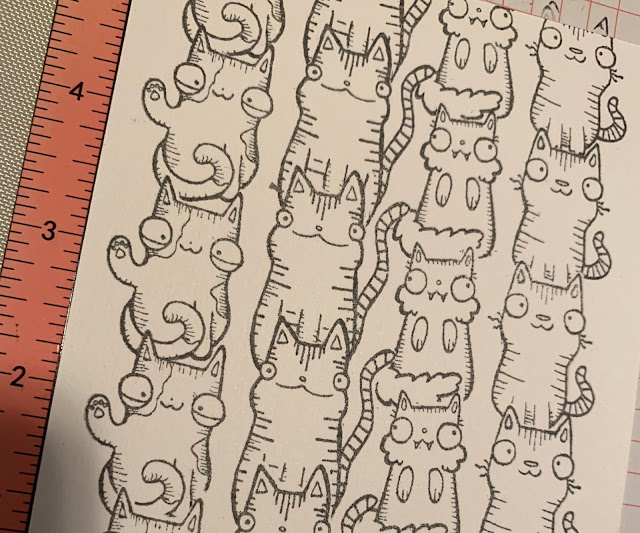
Happy Meow Day, friends! (I'm not sure that's an actual holiday...but it should be!) I'm back for week three of my Stampotique guest designer spot and am excited that we're continuing last week's theme of All About Pets. One cat is good, but it's not as fabulous as 50 cats! And while I don't have a video for you today, I am going to share step-by-step photos of today's card, which is super simple to create and includes a fun technique. So let's go!

I'm starting out with my Mini Misti, Neenah Solar White cardstock, Post-in Note tape, and Wendy Vecchi Archival Ink in my all time favorite color, Watering Can. While you don't need to have a Misti for this technique it is helpful. You will also want to use Archival Inks if you intend to watercolor as this ink is water proof. Lastly, the Stampotique stamps are wood mounted stamps, which would normally be impossible to use with a Misti. However, you can remove the red rubber from the blocks and simply use double sided tape to hold them on your stamping block. Easy peasy!
I started by stamping one row of cats and them stamping a second time (without re-inking) on to the Post-It Note tape. Next, I fussy cut out the row of cats, use the mask to cover the first row of cats, and re-stamp the next row of stamps. Notice that I only masked off the heads of the cats because that's all I needed.
Once you're done, you have an entire card full of cats!! I did trim down this piece of cardstock a bit so that there wasn't as much white space around the edges. Now to get working on my focal point image.
I stamped another row of cats on a second piece of cardstock, and used Distress Inks to watercolor one cat image. (I am using watercolor paper for this project!) To use Distress Inks for watercoloring, simple smoosh some ink from the ink pad onto a non-stick craft sheet and use a water brush to pick up the color. I'm a big fan of the water brushes with the water in the barrel, makes coloring super simple.
I fussy cut out the cat, die cut a large circle out of gray cardstock, and repeatably stamped the Purfect sentiment on the circle. I also stamped this hysterical sentiment on white cardstock and individually cut out the words.
To finish my card, I added a 2" piece of vellum to the cat card background, which was mounted to a dark gray card base. I then attached the circle, cat, and sentiment using foam tape. A few sparkly gems added the finishing touch to this sassy kitty card. (And my cat is painted like our cat, Sasha.) Super fun project, I hope you enjoyed! Happy Crafting!
Products:


No comments:
Post a Comment