
It's time once again for another
SALT challenge and this week
Lythan chose a great topic, "who is my neighbor." You can read her write up on the
SALT blog...
As I considered this week's challenge, while rifling through my assortment of Scripture verse stamps, I came across a darling
Sweet 'n Sassy stamp (this is a retired set but you can still get the digital set of Scripture text
here) that included a great verse from Romans 12:10, "
Be devoted to one another in brotherly love. Honor one another above yourselves."
What a great text to consider, especially in light of the current political climate in our country. I continue to be shocked and deeply disturbed by the behavior and comments made against anyone who holds to conservative views. Of course I understand that this can happen on both sides of the aisle. However, the difference I've noticed is how hateful some of the comments are when aimed towards conservatives....(Just this week a talk show host screamed about how she hoped a conservative candidate would go to hell) Even people I have known for years, and considered friends, have taken to name calling on public forums because a certain group of people hold to a different opinion. Is this an example of honoring others above one's self? Of course not, it actually reveals what is really in a person's heart. As the Bible clearly says, "the abundance of the heart speaketh the mouth." If you speak hateful comments then hate is in your heart.
Matthew Henry had these helpful comments on the text in Romans,
"These verses signify not only love, but a readiness and inclination to love, the most genuine and free affection, kindness flowing out as from a spring. It denotes the love of parents to their children; such must our love be to one another, and such it will be when there is a new nature and the law of love is written in the heart. This kind of affection puts us on to express ourselves both in word and action with the greatest courtesy and obligingness that may be. It should be a respectful love. Instead of contending for superiority, let us be forward to give to others the pre-eminence. And there is this good reason for this because, if we know our own hearts, we know more evil by ourselves than we do by any one else in the world. We should be forward to take notice of the gifts, and graces, and performances of our brethren, and value them accordingly. Be more forward to praise another, and more pleased to hear another praised, than ourselves."
What a fantastic commentary and reminder of how we should not only treat our immediate and church family but the people around us, including our neighbor, co-worker, and friends. It can be difficult (especially for folks like me who have a hard time not speaking up and defending my beliefs and my right to hold to those beliefs) for Christians to not get sucked into the "insanity", wrapped up in an effort to depend our religious or political beliefs. But Christ calls us to something higher for if we get entangled in the same kind of bad behavior and/or speech then we are no better and any good we would want to accomplish would be lost. Let us therefore seek to love around us, not just those that agree with us, but perhaps even more those who don't. May God be pleased to give us the strength, through the work of the Holy Spirit, to accomplish such a task and then may He be pleased to change the hearts of those around us. In these uncertain times, let us not get entangled in meaningless arguments but keep our focus on Christ to be a light and help to our neighbors.
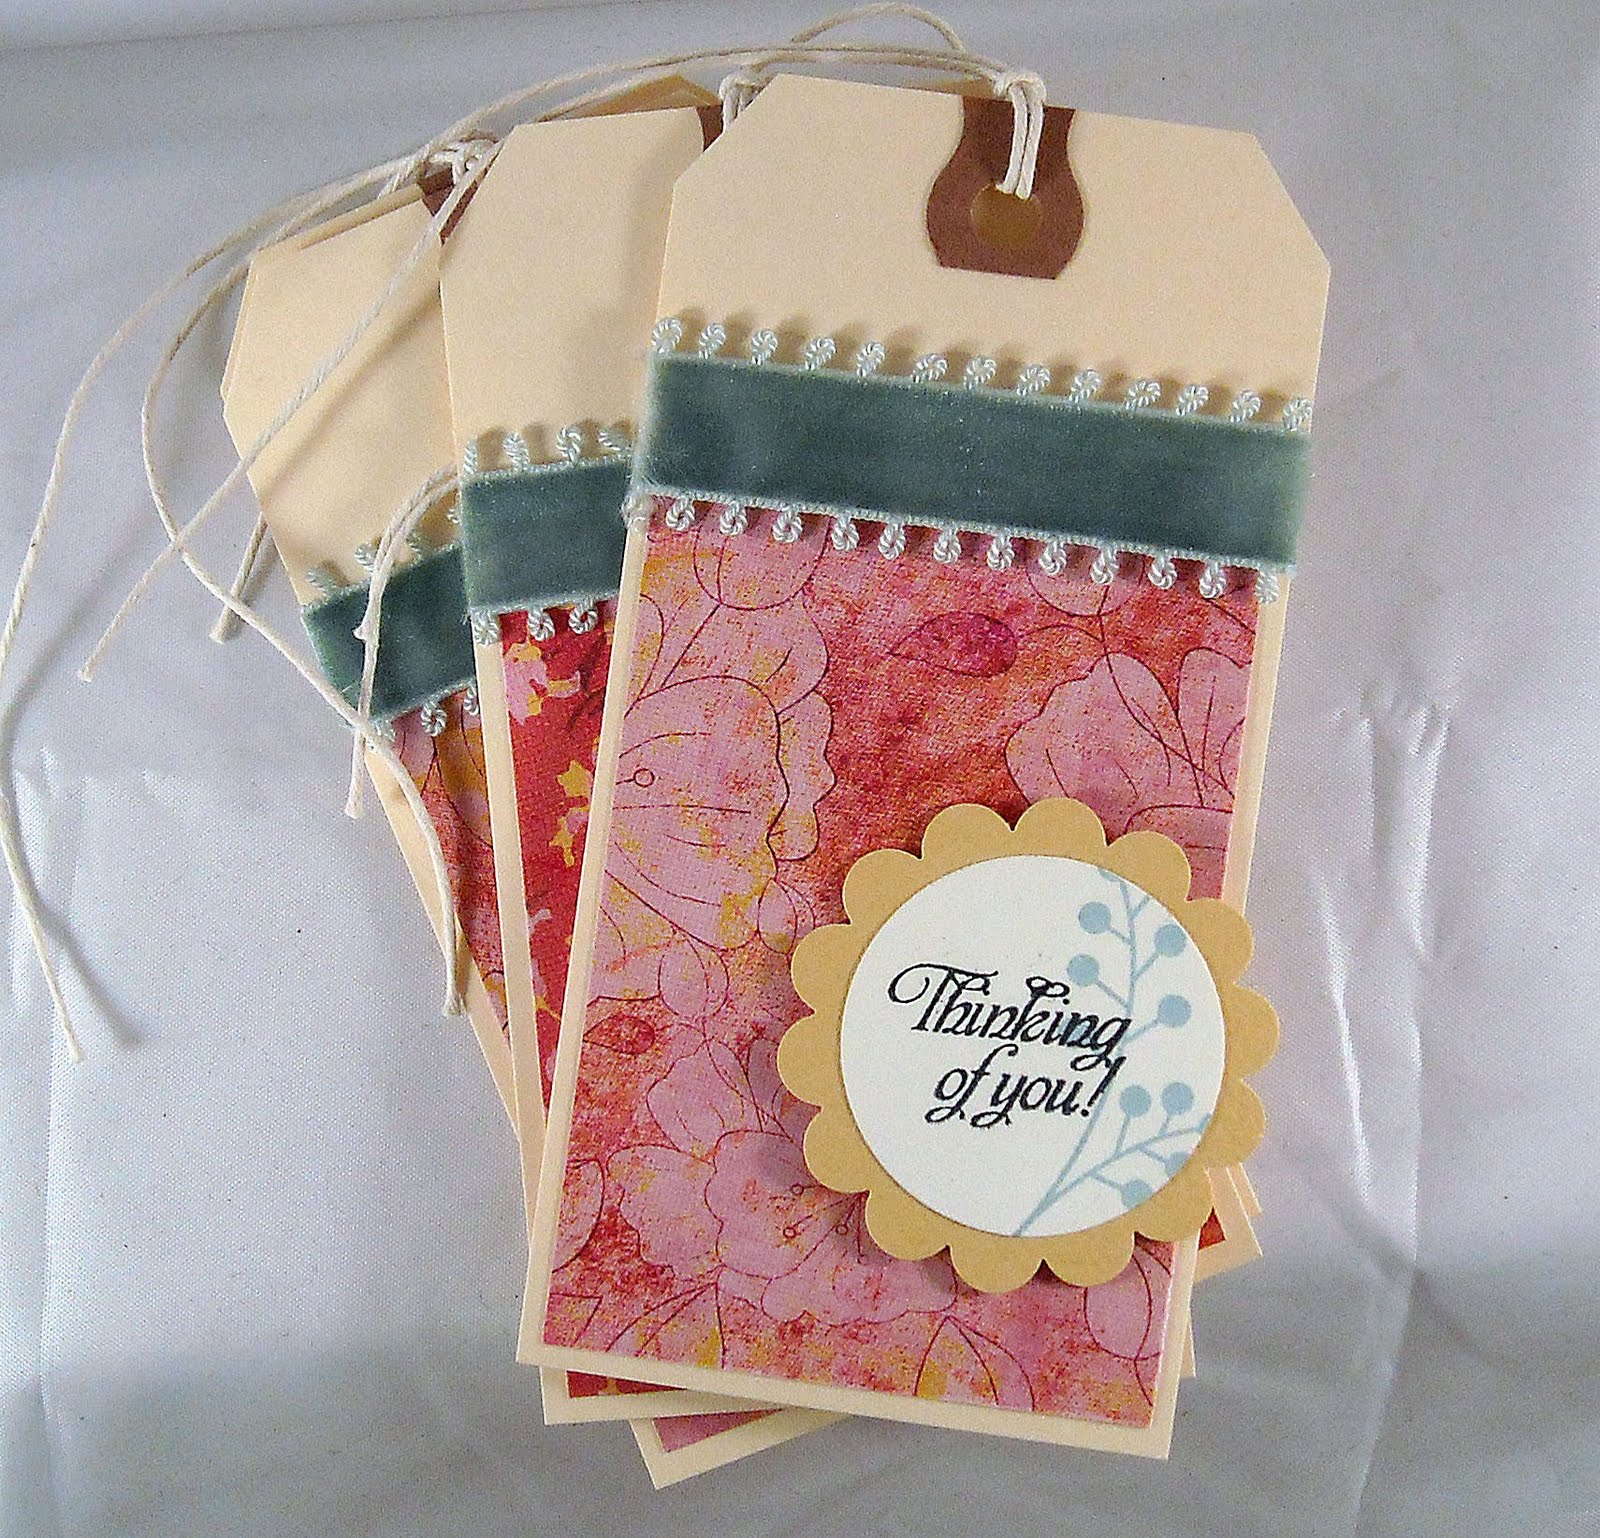
My card today features paper from October Afternoon and stamps from
Sweet 'n Sassy.
Enjoy and please visit the
SALT blog to see the team's beautiful work!


 It's time once again for another SALT challenge and this week Lythan chose a great topic, "who is my neighbor." You can read her write up on the SALT blog...
As I considered this week's challenge, while rifling through my assortment of Scripture verse stamps, I came across a darling Sweet 'n Sassy stamp (this is a retired set but you can still get the digital set of Scripture text here) that included a great verse from Romans 12:10, "Be devoted to one another in brotherly love. Honor one another above yourselves."
What a great text to consider, especially in light of the current political climate in our country. I continue to be shocked and deeply disturbed by the behavior and comments made against anyone who holds to conservative views. Of course I understand that this can happen on both sides of the aisle. However, the difference I've noticed is how hateful some of the comments are when aimed towards conservatives....(Just this week a talk show host screamed about how she hoped a conservative candidate would go to hell) Even people I have known for years, and considered friends, have taken to name calling on public forums because a certain group of people hold to a different opinion. Is this an example of honoring others above one's self? Of course not, it actually reveals what is really in a person's heart. As the Bible clearly says, "the abundance of the heart speaketh the mouth." If you speak hateful comments then hate is in your heart.
Matthew Henry had these helpful comments on the text in Romans, "These verses signify not only love, but a readiness and inclination to love, the most genuine and free affection, kindness flowing out as from a spring. It denotes the love of parents to their children; such must our love be to one another, and such it will be when there is a new nature and the law of love is written in the heart. This kind of affection puts us on to express ourselves both in word and action with the greatest courtesy and obligingness that may be. It should be a respectful love. Instead of contending for superiority, let us be forward to give to others the pre-eminence. And there is this good reason for this because, if we know our own hearts, we know more evil by ourselves than we do by any one else in the world. We should be forward to take notice of the gifts, and graces, and performances of our brethren, and value them accordingly. Be more forward to praise another, and more pleased to hear another praised, than ourselves."
What a fantastic commentary and reminder of how we should not only treat our immediate and church family but the people around us, including our neighbor, co-worker, and friends. It can be difficult (especially for folks like me who have a hard time not speaking up and defending my beliefs and my right to hold to those beliefs) for Christians to not get sucked into the "insanity", wrapped up in an effort to depend our religious or political beliefs. But Christ calls us to something higher for if we get entangled in the same kind of bad behavior and/or speech then we are no better and any good we would want to accomplish would be lost. Let us therefore seek to love around us, not just those that agree with us, but perhaps even more those who don't. May God be pleased to give us the strength, through the work of the Holy Spirit, to accomplish such a task and then may He be pleased to change the hearts of those around us. In these uncertain times, let us not get entangled in meaningless arguments but keep our focus on Christ to be a light and help to our neighbors.
My card today features paper from October Afternoon and stamps from Sweet 'n Sassy.
Enjoy and please visit the SALT blog to see the team's beautiful work!
It's time once again for another SALT challenge and this week Lythan chose a great topic, "who is my neighbor." You can read her write up on the SALT blog...
As I considered this week's challenge, while rifling through my assortment of Scripture verse stamps, I came across a darling Sweet 'n Sassy stamp (this is a retired set but you can still get the digital set of Scripture text here) that included a great verse from Romans 12:10, "Be devoted to one another in brotherly love. Honor one another above yourselves."
What a great text to consider, especially in light of the current political climate in our country. I continue to be shocked and deeply disturbed by the behavior and comments made against anyone who holds to conservative views. Of course I understand that this can happen on both sides of the aisle. However, the difference I've noticed is how hateful some of the comments are when aimed towards conservatives....(Just this week a talk show host screamed about how she hoped a conservative candidate would go to hell) Even people I have known for years, and considered friends, have taken to name calling on public forums because a certain group of people hold to a different opinion. Is this an example of honoring others above one's self? Of course not, it actually reveals what is really in a person's heart. As the Bible clearly says, "the abundance of the heart speaketh the mouth." If you speak hateful comments then hate is in your heart.
Matthew Henry had these helpful comments on the text in Romans, "These verses signify not only love, but a readiness and inclination to love, the most genuine and free affection, kindness flowing out as from a spring. It denotes the love of parents to their children; such must our love be to one another, and such it will be when there is a new nature and the law of love is written in the heart. This kind of affection puts us on to express ourselves both in word and action with the greatest courtesy and obligingness that may be. It should be a respectful love. Instead of contending for superiority, let us be forward to give to others the pre-eminence. And there is this good reason for this because, if we know our own hearts, we know more evil by ourselves than we do by any one else in the world. We should be forward to take notice of the gifts, and graces, and performances of our brethren, and value them accordingly. Be more forward to praise another, and more pleased to hear another praised, than ourselves."
What a fantastic commentary and reminder of how we should not only treat our immediate and church family but the people around us, including our neighbor, co-worker, and friends. It can be difficult (especially for folks like me who have a hard time not speaking up and defending my beliefs and my right to hold to those beliefs) for Christians to not get sucked into the "insanity", wrapped up in an effort to depend our religious or political beliefs. But Christ calls us to something higher for if we get entangled in the same kind of bad behavior and/or speech then we are no better and any good we would want to accomplish would be lost. Let us therefore seek to love around us, not just those that agree with us, but perhaps even more those who don't. May God be pleased to give us the strength, through the work of the Holy Spirit, to accomplish such a task and then may He be pleased to change the hearts of those around us. In these uncertain times, let us not get entangled in meaningless arguments but keep our focus on Christ to be a light and help to our neighbors.
My card today features paper from October Afternoon and stamps from Sweet 'n Sassy.
Enjoy and please visit the SALT blog to see the team's beautiful work!


