Hello strangers! If anyone is still reading my blog...I'm sorry for the extremely long absence! We moved (yes, again!) in February and thought that purchasing a home that needed a lot of work was a good thing. LOL! It's actually been good, but a very long process. We're mostly done with a decent renovation of our downstairs, which included a new kitchen, bathroom, and gutting of a living room area, and life is finally getting back to a fairly normal pace. I have a darling craft area in the new place, but crafting has taken a back seat to the other work that needed to be finished. While there is still a lot of organizing work to be done in the crafty area, I'm at least able to finally sneak in a bit of fun time. I've so missed creating and am looking forward to getting back into a regular habit of posting. I have a brand new video to share to click the link below to learn more about today's cards!
Comment on this blog post to be entered into a prize drawing for the You & Me stamp set from Sweet 'n Sassy! Deadline to enter the drawing is February 27! The winner will be announced on February 28!
Greetings, crafty friends! I'm a bit behind schedule with sharing my Valentine's Day cards, creating for my kiddos and hubby, but any day is a good day to share a love-themed card, right?
One of the other highlights of these cards, and is something I talk about in today's video, is how to effectively showcase smaller stamped images. It seems like a small image in a stamp set can sometimes create a design challenge. How do you use a small image on a large card space? Today's three cards demonstrates a similar techniques - create visual interest in the background and give your small image a "home" - but here are a few other ideas to consider:
1) Create a smaller card, a 3" x 3" or 4" x 4"
2) Use a neutral ink to repeatably stamp your small image over a piece of cardstock, creating your own designer paper
3) Create "windows" in your card and have your small images peek out from behind the windows.
4) Pop up small images on tiny tags, positioned on a card base
5) Create a spotlight by stamping the image multiple times in a neutral color, but only color one of the images.
These are just a few ideas for you to try! Below are close up photos of today's cards, a supply list, and my technique video. Enjoy and happy crafting!
I created my own note pad paper for the background of this card, complete with typed notes! The small PB&J image is highlighted on the white circle. A few sequins and the sentiment on black cardstock finishes the card.
The coffee cup and donut find a home on a small die cut tag. The addition of glossy accents on the donut creates a glazed effect. All I needed to do was add some stamping on the card base.
The use of an embossing folder created a eye-catching base to my card. The bold embossed letters is a great contrast to the pale blue on the vellum circle, and helps to dress up this clean and simple card. The circle under the vellum received repeated stamping of the You & Me stamp, adding more design to this simple card.
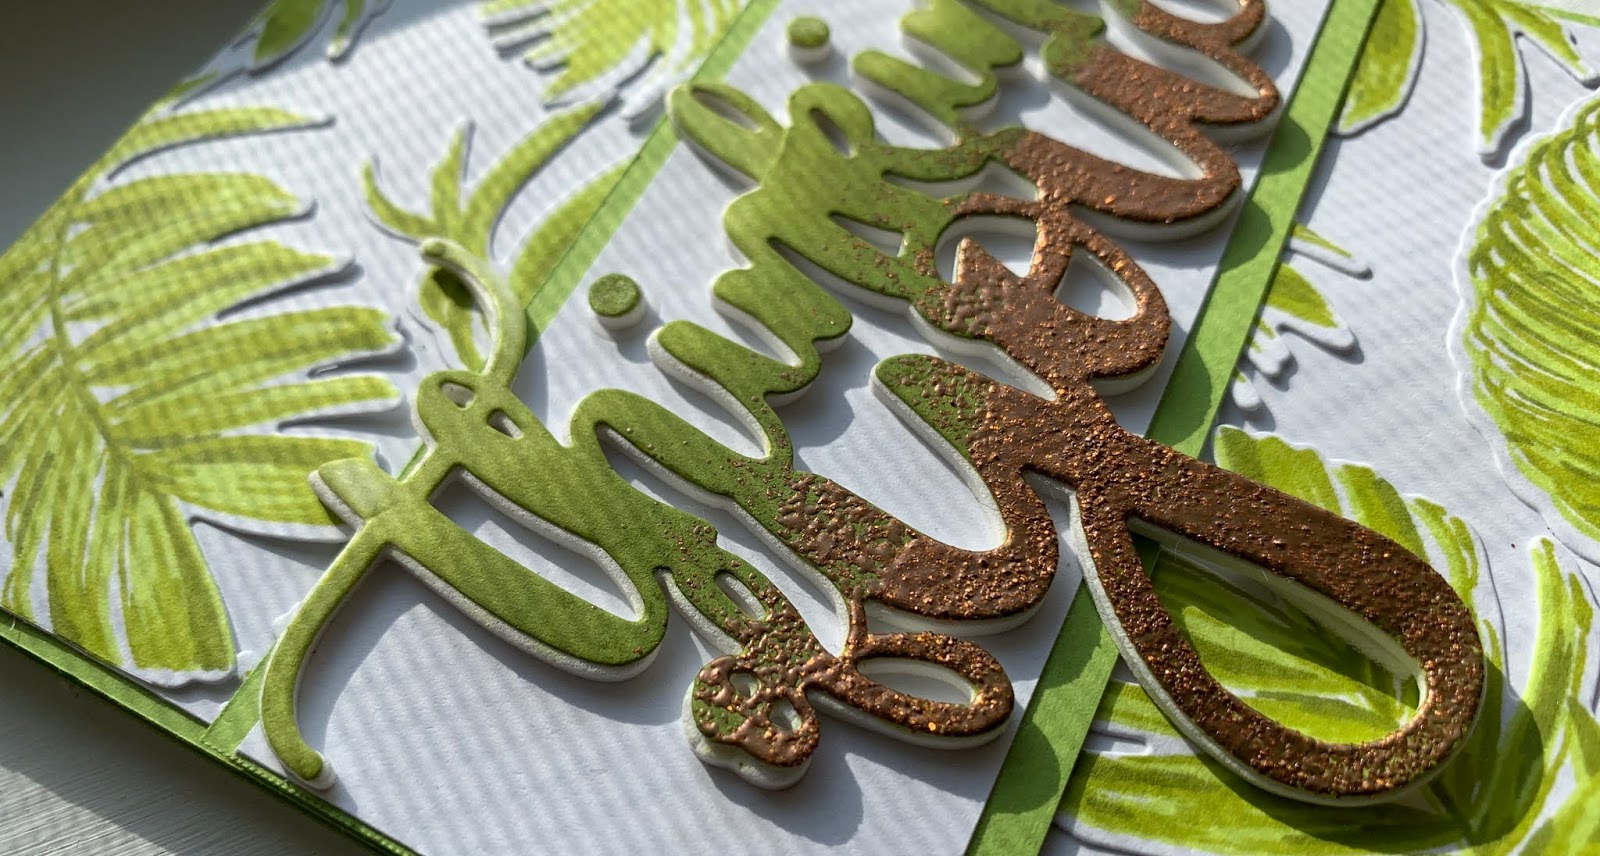
Hello, my crafty friends! Welcome to a blog post that is not connected to a design team project! LOL! Oh my, most of my posts over the past few months have been dedicated to only design team projects. It's been a busy time and I haven't had much time to craft. However, when Wendy announced her newest embossing powders, and I got my hot little hands on them, I knew that I had to take some time to create just for fun!
In addition to the fun I had playing with the new embossing powders, I also created a video sharing a fun and easy technique combining embossing powders and stencils. This is a great way to use your stencils in a new way and create beautiful high-gloss backgrounds, embellishments, and mat minis.
View the video below and check out product links below the video. Enjoy and happy crafting!
Hi folks! I'm sharing over on The Crafters Workshop blog today! I'm showing a few photos of my mini album here on my blog, but you can see all of the photos on the TCW blog.
I also have a new video to share today too, demonstrating how to create my album cover and showing a gesso resist technique, which I used on my interior pages. Video link below, enjoy!
It's time for my first Joggles design team post! WooHoo! My first project was created using the Joggle Accordion Books, which I altered to be a top folding bound book. Visit the Joggles blog for all of the book photos. You can also check out my process video below, which includes product links, posted in the description area. Happy Crafting!
Hello crafty friends! I'm back with a brand new project, featuring products from Wendy Vecchi. Let's call this a "Wendy Vecchi Wednesday" post that's a few days late.
I've been a busy bee these past few weeks, filming a new class for Big Picture Classes, which should be announced in mid-May. I love filming the classes, but it's a lengthy project that dominates my free time and studio space for close to a month. The process is long, but enjoyable. And it's such a relief when the final video has been edited and uploaded for proofing. Stay tuned for more details on the exact class dates.
In other news...I've accepted a full-time job! WHAT!? I know...I've been an independent consultant for almost 16 years and while I'll continue in the short term as a self-employed person, I am now going to be only working for one company. The good news is that I'm going to be able to continue working from home. That is huge and one of the reasons I couldn't say no to the offer. (I'll still get to craft on my lunch breaks! LOL!)
In even more exciting news...I've joined the Joggles Design Team! It's just a six month term, but I'm thrilled to be working with a store. It kind of makes me feel like I'm working at a store again...sigh...I sure do miss working at a craft store. The pay isn't great, but it is the best job in the entire world! And I wish there were still independent craft stores in our area, but if you don't have a store near you, definitely check out the Joggles store. It's filled with all kind of amazing mixed media and vintage pieces, along with all of the regular products you'd expect to find in a craft store. Stay tuned for more news on my Joggles projects...
OK, on to today's project! It's a tag that features a fun water color technique using a Mini Misti and Distress Inks. And...I'm doing a giveaway of some of Wendy's Mat Minis! Just leave a comment to be entered into the drawing. The winner will be announced next week, 4/22. Leave your email in the comments if you'd prefer to be notified via email.
No more chatting...let's get to the video! Happy Crafting!
I'm sharing a project on The Crafters Workshop blog today! Hop on over for more photos, supply list, and a video link, which I'll also share below. Happy Crafting!
Greetings everyone and happy Friday! Today we start the August release celebration for Sweet 'n Sassy stamps! Today's new stamp set is a beauty...a large flower set that contains a boatload of images!
When I first saw these stamps I knew I wanted to create a page full of flowers, and I combined that idea with a new technique I saw posted by Jennifer McQuire (you can see her video here).
I created my floral panel by stamping some of the images in VersaMark ink, on white cardstock, and then I embossed them with white embossing powder. Once the powder had cooled, I covered the entire panel with Distress Ink, which makes the embossed images jump right off the page! I used plain water to remove some of the color within the flowers and leaves, and added some other colors to essentially re-color the images. The little bee was stamped and embossed on a scrap piece of paper and fussy cut before adding to the card front.
The card base was dry embossed using this fun honeycomb pattern and the sentiment was stamped on black cardstock and embossed with more white powder (I'm a bit obsessed with embossing...again!)
Be sure to check out the rest of the design team's projects using today's release, Scribble Flowers, and check back next Friday for the next August stamp set release!