
Happy Tuesday morning blogging friends! Today I'm sharing a Spring card because I've just got to see to see some flowers soon...especially since it was snowing all day yesterday here in New England. Talk about being shocked at seeing snow coming down yesterday, after we'd had days and days of beautiful, sunny weather! Oh, that's right...We live in New England, one never knows what one is going to get on any given day! :-)
I had the wonderful opportunity to create one not but two
Sweet 'n Sassy cards last night, which was a real treat considering March has been so busy. And on both cards, I took a more simple card making approach, having recently been inspired by one of my design team buddies,
Jill Foster. If you've never visited Jill's blog, I encourage you to check it out! Jill takes cards from other designers, who inspire her, and then she creates a card based on their designs. Jill's cards sport bold and vibrant colors and clean and simple designs. And today...her card inspired mine! :-)
This sweet
Tulip image is currently available as a digi image from
Sweet 'n Sassy. However, I have a little secret for you...In another week or so you just might be able to purchase an entire set with this beautiful design and a bunch of sentiments! April 1st is release day at
Sweet 'n Sassy so...you'll just have to visit the site on the 1st to find out what's new!
As for the card creation, no designer paper! I took a clue from Jill and used the a sanded background stamp to decorate my first layer vs. decorative paper, which was cut out with a Labels Nestibilities die. I then used a word background stamp to decorate the cream layer and here's a fun trick I learned from Jill. I applied ink to the entire stamp and then used a damp cloth to remove some of the ink before stamping. It kind of gives the image that vintage look and also makes a blank space if you want to layer your main image directly on top of the background image, as I did with the tulip image. I then stamped the tulip image a second time and colored the flowers with Prismacolor pencils. (Loving the pencils!) Once the flowers were cut out and attached with foam tape, I simply added the sentiment and ribbon. Fun!!
Enjoy today's card and be sure to check on the
SNSS site on April 1st!


 Remember I said that I started scrapbooking? Here's my very first page of my very first scrapbook album! I'm so excited! I can't believe how much I'm looking forward to scrapbooking some of our best photos from this year!! My plan is to create a hybrid 12x12 scrapbook, which means I'll scrapbook some of the pages and then put the rest in to standard 4x6 photo holders, as you see below. For me, that takes off a lot of the stress since I'll focus on only scrapbooking our favorite photos. I'm also focusing on one month at a time so just a few photos from each month.
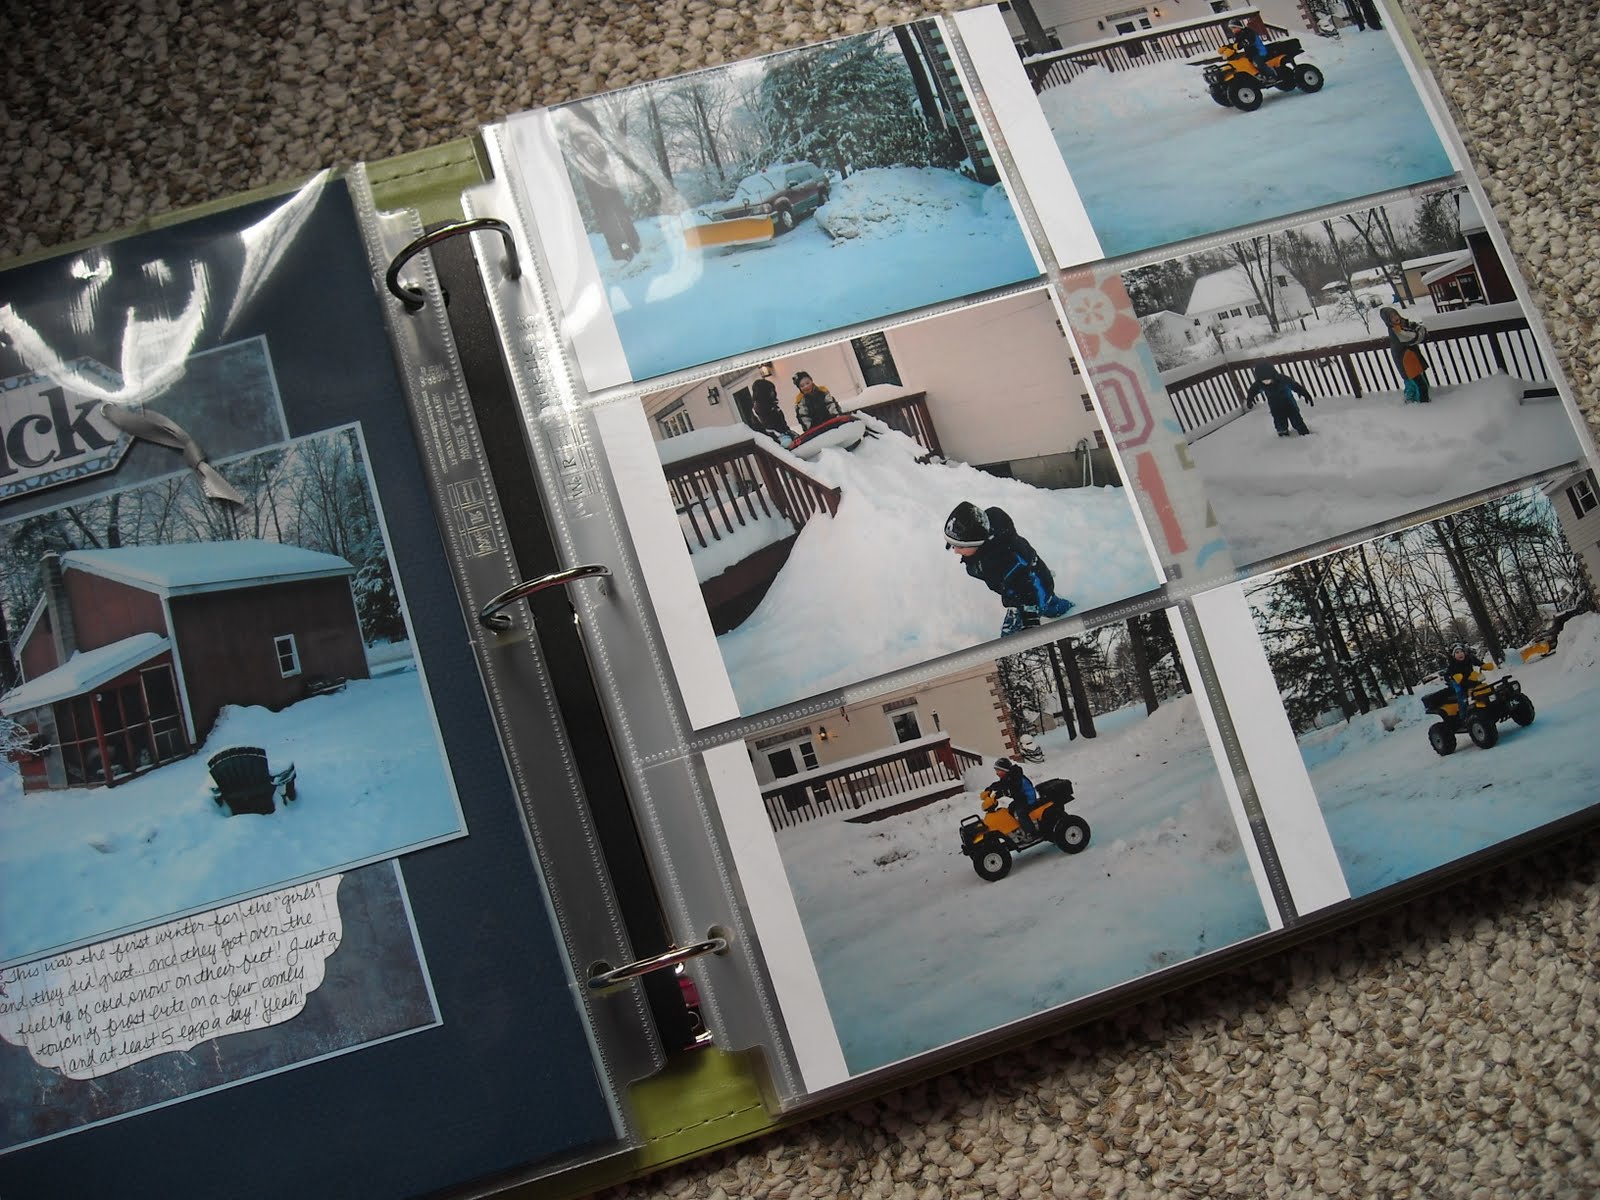 For my first few pages from January, I started with designer paper from Bo Bunny. I love the dark navy of this page, along with the snowflake design and all of the coordinating stickers and embellishments...ohh, fabulous!! The January title on this first page is from a sticker sheet that goes along with the paper line, as well as the various snowflakes on the page.
 I really only added a journaling box (also from this line), a few brads (a theme I repeated on all the January pages), the photo of my most handsome son, and tiny pearl accents, which you can just see on the inside of the snowflakes in the above photo.
Well...that's page one...what do you think?? I have four more pages to share for January, which I'll do within the next week or so...
Enjoy!!
I really only added a journaling box (also from this line), a few brads (a theme I repeated on all the January pages), the photo of my most handsome son, and tiny pearl accents, which you can just see on the inside of the snowflakes in the above photo.
Well...that's page one...what do you think?? I have four more pages to share for January, which I'll do within the next week or so...
Enjoy!!


