photo kime5_zps3df5231d.png  photo kime6_zpsa90859c6.png  photo kime7_zps9d2ef86d.png  photo kime9_zpsb23b4278.png

Tuesday, October 20, 2015

Document the Everyday

Hi friends! I'm back today with another art journal layout. This is one that I created as a sample for my Art Journaling Made Simple class, that took place at the beginning of October.

The goal of the class was to create three different backgrounds, and then work to add layers on to the pages to create finished pieces.

This spread started with a layer of Wendy Vecchi embossing paste and a circle stencil from Donna Downey, named Grunge Halftone Dots. (Click on product names to be linked to stores that sell the mentioned supplies) 

Once the paste was dry I added color with a few ink sprays and watered down paint, which I allowed to drip towards the center of the journal.

Next, I added another layer using Donna Downey's Numbers Repetitive stencil. (Side note: I have to add that I adore Donna's stencils...great designs and the perfect size for art journals. The generous 8x8 design makes it the perfect fit for most journals!) I used Jet Black Archival Ink and a blending tool to add the stencil design. The last layer, before my collage was added, was some orange spottie dots, created with Golden Liquid Acrylics and a brush. I love the pop of orange against the background.

The last step was to create the photo collage, which is really just a combination of a bunch of scraps I had sitting on my desk. The photo is from Tim's Found Relatives collection, and the Noted card is also from Tim, the Pocket Cards. All of the other pieces are just random bits of ribbon, a die cut that I painted orange, a piece of cardboard, and a manila tag with bits of stenciling and text paper. It's a lot of fun to gather together a bunch of random pieces and make them all fit together...it's like a super artsy puzzle! 

After the collage was finished, I added a quote, "Document the Everyday," using stickers from my giant alphabet sticker stash. The circle around the quote was created using a Stabilo pencil, and then tracing over the pencil with a waterbrush.

That's it for today's art journaling installment...hope you enjoyed!!

In other news...

My Art Journaling Basics class at Michaels in Epping is this Friday! Details here. We'll be making this art journal cover:

Personal news...We are moving to CT, my friends! Our house sold, after being on the market only two weeks...it's nothing short of a miracle! We're now in the process of looking for housing, starting to wrap our minds around packing (oh, how I dislike it), and trying not to think about how sad it's going to be to leave our friends and family. We're excited about new opportunities, but sure wish leaving our loved ones wasn't so hard...Stay tuned for more details! I'll only be teaching a few more classes in November and then it will be the start of a new journey!!

Hugs!

Tuesday, October 13, 2015

Live Beautifully


Hi all! Today I'm sharing a completed art journal spread that was created during my "Art Journaling Made Simple" class, which took place at my house a few weeks ago. (Be sure to sign up for my newsletter, link on the right hand side of the blog, to receive class updates!)

During the class we focused on creating three unique backgrounds. I managed to fully finish two art journal spreads...the third one still needs finishing! (We're planning a round two of the class to complete our pages)

This was a really easy page to create and most of my details were added with Faber Castell Big Brush Markers. (Link to products at the end of my post)

I started by covering both pages with Tim Holtz Tissue Wrap (we worked in the small Dylusions journal) using Matte Medium to adhere the pages.

The next step was to cover the pages with a combination of Distress Paint colors. I used Evergreen Bough and Weathered Wood.

Once the paint was dry, I used an older Prima stencil, Floral Rose, and embossing paste to add the flowers and small white dots. (I confess that I got a little crazy with the tiny dots on this layout!)

When the paste was dry, I used Dina Wakley acrylic paints to color in the details. You'll notice that I colored a complete flower, not just the areas with the paste, which is what is seen using the stencil. The purple sitting on just the paste didn't look right so I filled in all of the flower areas. I loved the end result as the flowers look more dimensional.

I create a lot of shading using Faber Castell Big Brush Markers and more paint. As a final tough, I went around a few of the paste spots with a black Stabilo pencil. Using a waterbrush, I went over the Stabilo pencil to blend the black and create shading.

The quote on the right was part of the stencil so I just used black paint to stencil the letters. I did go over the letters with a black Sharpie to beef up the width of each letter. The tiny black dots are from the Tiny Circles stencil from The Crafters Workshop.

I hope you enjoyed today's art journal layout! I'll be teaching an art journal basics class next Friday (October 23) at the Michaels in Epping, NH. Details can be found here. 

Supply List:
Tiny Circles Stencil from The Crafters Workshop

Thursday, October 8, 2015

Gesso Resist Technique

Hi friends! Today I'm sharing a quick and easy technique for creating amazing backgrounds....Gesso Resist! Here are the materials you're going to need:
I'm using a piece of watercolor paper (you'll need a heavier cardstock for this technique), gesso (Liquitex is my fav), a sponge, and background stamp, I'm using the Typewriter Text background stamp from Sweet 'n Sassy.
Put some gesso on a non-stick craft sheet and use the sponge to apply a thin layer of gesso on to the stamp. Use a light hand to apply the gesso as too much will create a puddle of paint and will keep the edges of the design from being crisp. (You can see how the top of the stamp has a little too much paint)
Stamp onto the piece of watercolor paper. You'll see that some of the archival ink, that was on my stamp 'cause I never clean my stamp, came off with the gesso. This won't affect the results. Be sure to clean your stamp immediately after stamping as the gesso will harden and effect the use of your stamp.
Next, grab a few Distress Stains and a water bottle. Apply the Distress Stains to a non-stick craft sheet, you can see my bottles above each color, and then spritz the stains with some water. This will allow the color to freely move over the watercolor paper.
Swipe the cardstock through the ink. Be careful not to move the cardstock around too much or your colors will become muddy (well, my colors would 'cause I'm using colors on the opposite side of the color wheel! LOL!). Spritz your cardstock with more water if you want the color to move around more.
Check out these results! Ohhh...love it! The gesso resists the stains, making the background design pop out...love it! You can see how I allowed the stains to drip off of the page. I had originally intended to cut a shape out of this piece of paper, but I loved the drips so much I use the entire piece!

I finished my card by adding a flower from the Lovely Lotus stamp set, colored with Faber Castell watercolor pencils, a few dragonflies, from the same set, and a sentiment.

Hope you enjoyed today's tutorial!! If you're interested in more of my video tutorials, including other gesso resist projects, subscribe to my You Tube Channel, here.

Monday, October 5, 2015

Introduction to Art Journaling Class Details

Hi all! My next Michaels class has been scheduled! Full class details are below:

Location: Michaels in Epping, NH
Class: Art Journal Techniques
Date: October 23, 2015
Time: 6:30-8:30 pm
Cost: $15

This class we'll explore a variety of mixed media techniques as we create an art journal cover. I'll demonstrate the use of different mediums, including gel medium and modeling paste. We'll also review collage techniques, stenciling, and shading using Faber Castell Big Brush Markers. You'll leave the class with a completed art journal cover and lots of blank art journal pages ready for more art!

Please contact the store directly to register for this event. Below is a list of supplies that you either need to bring or purchase for this class:


Wednesday, September 30, 2015

Art Journal Layout Featuring Donna Downey Stencils

Hi friends! I'm popping in today to share a sample of an art journal page that we'll be creating in this weekend's "Art Journaling Made Simple" class. (Actual class samples will vary, but the techniques used on this page will be used.)

I have a few photos to share of some of the steps taken to create this journal spread. Contact me at ksdm@comcast.net if you have an interest in signing up for the October 3rd class, where we'll explore more quick and easy steps to creating your own beautiful art journal pages.

This spread started with Tim Holtz tissue wrap and Distress Paint. I love tissue wrap! It's a great starting point in art journaling.  The tissue was applied with matte medium and then Distress Paint was added on top. Don't mind that blue peeking through...these pages contained some extra paint from another product. That will be covered by the time I'm finished.


Next, I used Wendy Vecchi's embossing paste and the Flower Bed stencil from Donna Downey to add these beautiful, textured flowers to my page. The blue paint, any paint, will be absorbed by the paste so remember that if you want your paste to be pure white. No worries on my page as I painted my flowers.
My flowers were colored with paint and then shaded with Faber Castell Big Brush Markers. (I put the stencil back over the dry paste. This protected my background and allowed me to easily color all of the flowers and leaves without worrying about paint getting on the background). I did add a bit of stamping, used a cracked glass stamp from Tim Holtz, around the edges of the page, as well as a bit of aging on the page edges, using Potting Soil Archival Ink from Wendy (love that color!) And, of course, I had to add a few white splottie-dotties using watered down white gesso. The sentiment is actually from a Donna Downey stamp set, You Are Important, but the sentiment in the set was too small for my page so I used alphabet stamps to add the saying. 

Interested in learning more? Check out the details on my Art Journaling Made Simple class, coming up on Saturday, October 3...There's still time to register!
If you've been intrigued by the idea of art journaling or have recently jumped into this wonderful form of creating, but are overwhelmed by all that's involved...this class is for you! This class is perfect for beginners and intermediate students.

During our four hour class, we'll create three different art journal pages. I'll walk you through the steps taken to create beautiful, quick and easy backgrounds using a variety of mediums, such as Distress Paint and embossing paste. We'll also discuss which tools you'll need to produce the best results, along with providing you with a quick list of some of my favorite go to products. Lastly, I'll teach you how to create beautiful collages and art in your journals. 

Also during the class, I'll demonstrate a number of techniques, such as gesso resist and coloring pastes. We'll work with ink sprays, acrylic paints, Distress products, collage, embossing pastes, and stencils. Our goal for the day is not only to experiment, learn, and have fun, but to also show you how easy it is to create beautiful art work, quickly and easily! The added bonus? The class includes an 8"x5" Dylusions journal!

The cost for this class is $50.00. Please email Kim at ksdm@comcast.net to register, an electronic invoice will be generated once your request for registration has been received. A supply list will be sent once payment has been received. Please note that class fees are non-refundable after September 28, 2015. Registration will close on October 1, 2015...

Class location: Fremont, NH
Date: October 3 - Time: 1:00-5:00 pm
Cost: $50 (includes 8"x 5" journal)

Monday, September 28, 2015

Gelli Plate and Texture Sheets Tutorial


Do these projects look familiar? My apologizes for the repeat...The card above was posted in early June of this year. I had, at the time that I made the card and mini book, recorded a video, which ended up being "stuck" on my iPhone. (Call me technically challenged) 

Fast forward three months and I finally managed to get the video off of my phone and uploaded to my You Tube channel! WooHoo! So...you're getting the photos again, but the video of how I created both projects for the first time. (As for that video...the framing is all wrong...I still need technical help! LOL!) Check out the video at the end of today's post.

In class news...

-I have one more seat left in this weekend's (10/3) Art Journaling Made Simple class. The class runs from 1-5 pm and the cost is $50. The cost of the class includes a Dylusions journal, which we'll work in to create three art journal spreads. Email me at ksdm@comcast.net to register and for other questions.

-Michaels in Epping, NH - I'll be teaching at Michaels on 10/23, 11/6, and 11/13. More specific details to follow, but each of the classes run from 6:30-8:30 pm. Two will be focused on art journaling and the third will be a card making class. I'll share class samples just as soon as I have them!

In personal news...

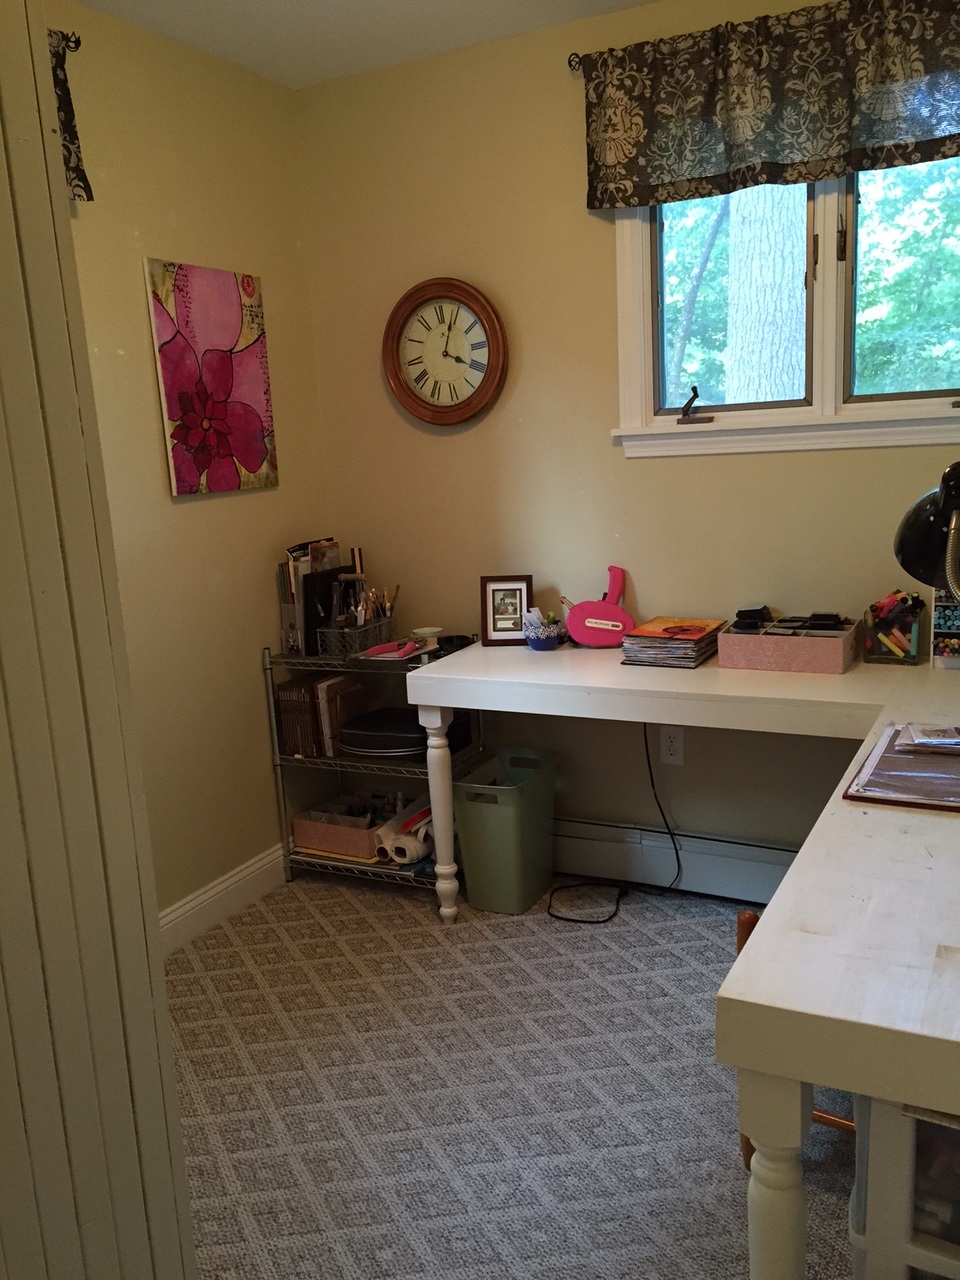
After six months, I'm pleased to report that my husband has found a job!! We're thrilled! The down side is that it will require our family to move. UGH! We'll be looking in the western NH and northern CT areas. While we're excited about a new career chapter, we're all a bit overwhelmed at the thought of moving. Our house goes on the market this week...sigh...and in preparation we've been in major packing/clean up mode. I just had to share how my studio looks now...it's never been so clean!

Almost all of my craft supplies have been put into storage. I only left out paint, stencils, and my art journals. I'm curious to see if I can go without much of my other supplies....if so, I think there's going to be a big purge on the horizon! Now on to the video; I hope you enjoy!

Monday, September 21, 2015

If it doesn't challenge you...

Hi friends! I have a fun 8x10 canvas project to share with you today. This was a very simple project that came together in about an hour...grab your stamps and paint, and let's get started!

First, I want to share that I created this canvas piece to be a journal cover for my very first junque journal. Julie Fei-Fan Balzer teaches an online Junque Journal class, and I signed up for it last week. If you have tons of half painted papers hanging around your studio, you MUST sign up for this class! I was able to bind together almost 100 pieces of random papers into two journals. This is an amazing class given by an amazing teacher...Go sign up, just do it!

OK, back to our regularly scheduled program...
I started with a canvas panel from Dick Blick (you can buy these in bulk for short money, click here for the link), two Distress Paints (Wild Honey and Ripe Persimmon), and a water bottle.

I painted the top portion with the Wild Honey and the bottom with Ripe Persimmon. Then the entire canvas was spritzed with water (start at the top of the canvas). The Distress Paints react with water and beautiful mixing will take place...yummy. (I'm not sure why there are small open areas, where the paint didn't seem to cover completely, but I don't care...love the look!)
Next, I stamped this stunning, gigantic poppy image, from Donna Downey (You Are Important), on the canvas using VersaMark ink and embossing with Black Soot Distress Powder. Donna's stamps are perfect for art journaling and canvases because they are HUGE. This stamp is approximately 7" tall!
I painted the poppy image with more Distress Paint (Festive Berried and Abandoned Coral). I used a paint brush to apply the paint and then spritzed the still wet paint to get it to run outside of the lines of the flower. (Tip: When Distress Paint is dry it is permanent, it will not react with water so if you want the paint to flow, you must spritz while the paint is still wet.) After the paint was dry, I used a paint brush to outline the flower. Since I did the outlining by hand, vs. re-stamping the image, I got a nice painterly look. And now, for an important public service announcement...
I've taken countless classes with Tim (Holtz), and during every class he reminds attendees to NOT squeeze the paint bottles. "Don't squeeze the bottles, don't squeeze the bottles..." And every time, someone squeezes the bottle and paint goes all over the place. I teach classes, and shoot videos, all the while saying, "Don't squeeze the bottle..." Guess what I did tonight? I squeezed the bottle... Don't be like me...and do not squeeze those darn bottles!
After I cleaned up that big 'ol paint mess, I added some stenciling to my canvas. (I used Wendy Vecchi's Archival Inks for all of my stenciling.) The leaf stencil is from Wendy Vecchi, Lovely Leaves, and the number design is the Mini Number Repeat from Donna Downey. 
For the final step, I added more stenciling, using Wendy's embossing paste and the Believe Script stencil from The Crafters Workshop. I stamped the sentiment, included in the You Are Important stamp set from Donna Downey, and added a touch of Potting Soil Archival Ink, using a blending tool, to the edges. The sentiment is a bit further to the right than normal because this is going to be a journal cover and the binding will cover up a portion of the left hand side of the canvas. As soon as I get the journal together, I'll take a video to share the goodness! Oh, and I did add just a few tiny splashes of Festive Berries paint to the entire canvas!