


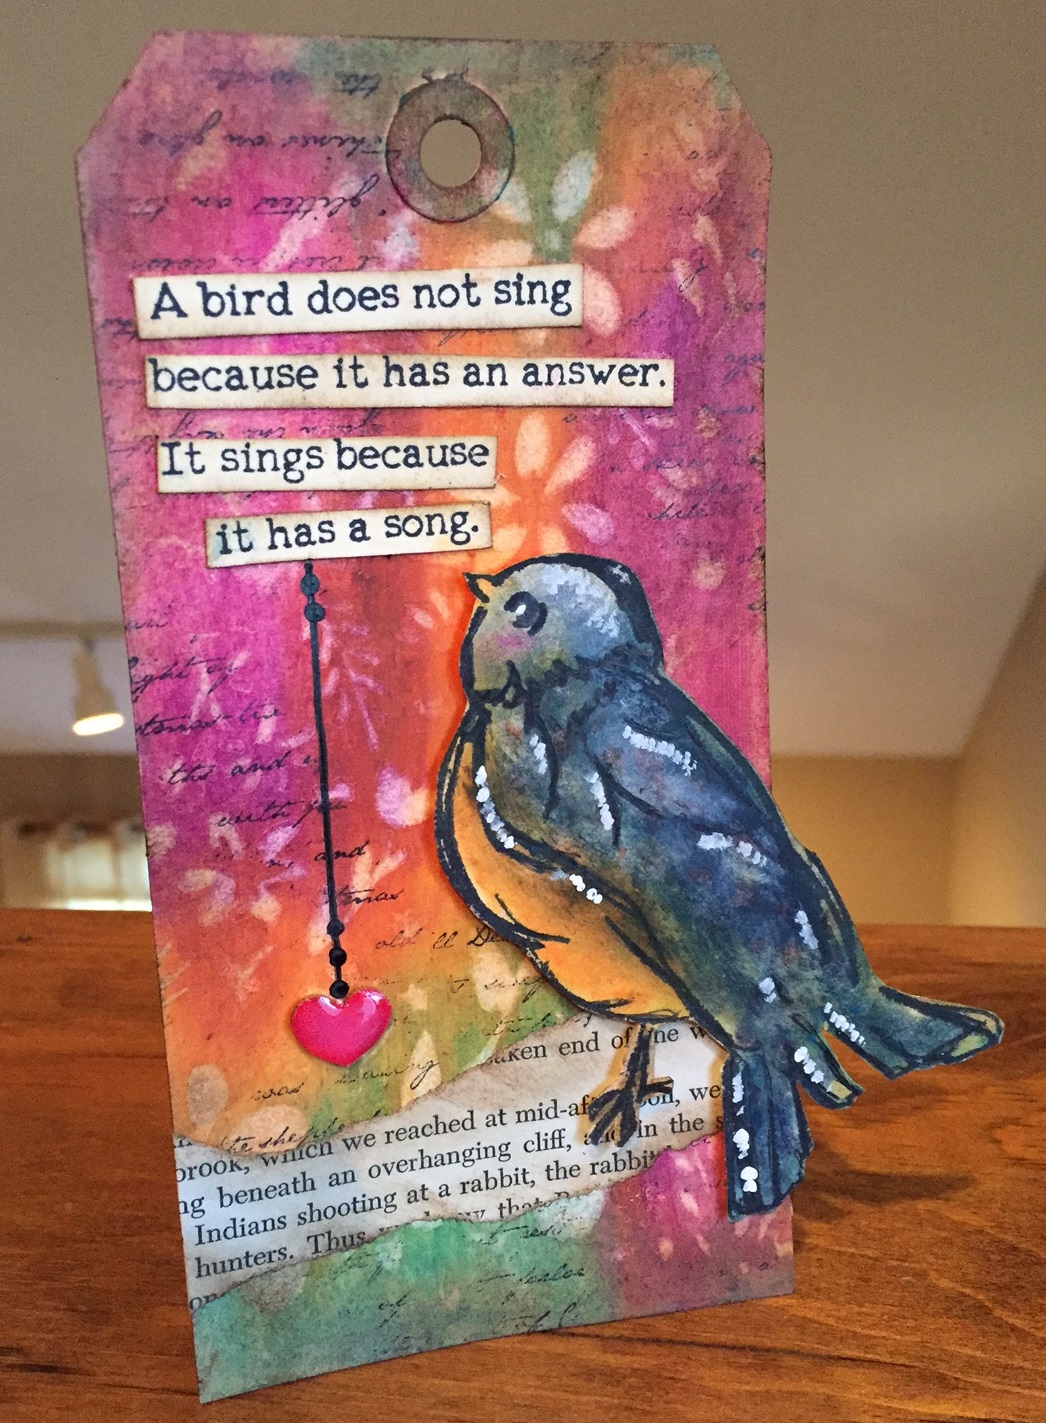
Of the products that were released during this year's CHA, Distress Crayons (yes, I bought every color!) were one of the products I was most excited to try. My CHA pre-orders from The Funkie Junkie arrived a few weeks ago, and I finally had an opportunity to play with the new crayons.
Since I was just trying them out I opted to grab a tag and apply a few different colors. Here's what I found...
1) They blend better on paper with your fingers vs. a water brush. The water brush didn't really move the color around that well once it was applied to the tag.
2) Using a baby wipe gives you amazing blend-able results.
3) Laying a stencil over the colored tag and then removing some of the color with a baby wipe is divine!
4) The colors blend really well together without becoming too muddy. (You can even blend two colors together for a third color!)
5) The crayons are super creamy and applying more pressure produces deeper colors and better final results.
6) Final verdict? Super fun product, can't wait to use them in my art journals!

For this tag, I scribbled a few crayon colors directly onto the tag, and blended slightly with my finger. A laid a stencil over the tag and then used a baby wipe to rub some of the color off of the tag. You're left with this beautiful watercolor look. I then used a script stamp and jet black archival ink to add some stamping to the background.
The bird is from Dina Wakley's Scribbly Birds stamp set (see product links below), and I again used the crayons to add color to the bird, just blending with my finger.
Vintage text paper gave my bird a "branch" upon which to perch, and the sentiment (from the same stamp set) was stamped on a tag, cut out and attached with liquid glue. That teeny heart is another one of my favorite CHA releases...Wendy Vecchi's Mat Mini Hearts! Oh man, I love these heart! Super thick chipboard that is simply inked with Wendy's Archival Inks, then a hint of glossy accents added for some great shine.
Hope you enjoyed today's project...now go out and grab yourself some Distress Crayons! Here's where you can shop for these products...
Supplies:


