photo kime5_zps3df5231d.png  photo kime6_zpsa90859c6.png  photo kime7_zps9d2ef86d.png  photo kime9_zpsb23b4278.png

Monday, May 23, 2011

February Scrapbook Pages

I managed to finally finish my February scrapbook pages!! I've already shared the first page, shown above, but I thought I'd repost so you can see all three pages in a row. And I apologize in advance for the lousy photo quality...I have got to find a way to take good scrapbook photos since they don't fit in to my photo booth!
The paper that I used on all of these pages is from a My Mind's Eye kit called Be Loved. The kit came with a boatload of paper and a 12x12 sheet of die cut shapes and sayings. I also used stamps from Ali Edwards, which you can purchase on Technique Tuesday's site, on the second and third page. (Love her stamps!!)
These pages document an afternoon we spent making homemade play-doh and creating snowmen. This project was part of my youngest's school assignments - counting how many spheres we needed to make a snowman. You might notice that both boys opted for only two spheres...humm...under achievers! LOL! We actually had a blast making the play-doh, which my youngest called "burning hot stuff, " (it was made on the stove) a great phrase to record on the scrapbook page.

I'm finding that I am really enjoying scrapbooking as it's a wonderful way to document little activities, accomplishments, projects, trips, etc. that helps you recall those special and ordinary moment, like a funny comment that your kids made. You think you'll remember but I'm finding that the older I get the less I remember! And even though I've only completed a few months worth of scrapbooking, I find that I'm already going back through my album, enjoying the memories of those moments. I'm looking forward to many more years of documenting our family life.

Enjoy!

Friday, May 20, 2011

Wildflowers - Take Three

Are you guys tired of my Sweet 'n Sassy Wildflowers cards yet? Sorry but I adore this stamp set! Love it, love it, love it!! :-) This is a card I demonstrated at one of my Wholly Scrap! classes, where I was showing the ladies reverse masking. I created a mask by using a Nestibilities die to cut out the shape. Then a little Distress Ink and sponging filled in the empty space. (Oh, and a Post-It Note sun!) Then the flower stamp went on top of the sponged area (don't remove the mask until you're done stamping the main image!) Easy peasy!

Wednesday, May 18, 2011

Photo Cube

How about a super cute and easy project, perfect for Mother's or Father's Day or even as a Christmas card....it's a photo cube and you can find the directions for making this project on Splitcoast.
This was a project I demonstrated at a recent Wholly Scrap! class. The cube is small, just over 3" tall so the amount of space available for extras is minimal. However, I was able to add in a few animal images, which came from a TPC stamp set. (I love the little mama duck and the baby ducklings!)
The designer paper is used is from Echo Park, a fabulous home-inspired line. I opted to label this photo cube for Mother's Day and right now it's a perfect addition to my desk. I think this would also be perfect for Christmas cards, as you can send the cube flat and then provide simple directions for assembly. What a great way to showcase your favorite photos from the year!

Be sure to check out the directions on SCS, super easy and enjoy!

Monday, May 16, 2011

Blast from the Past

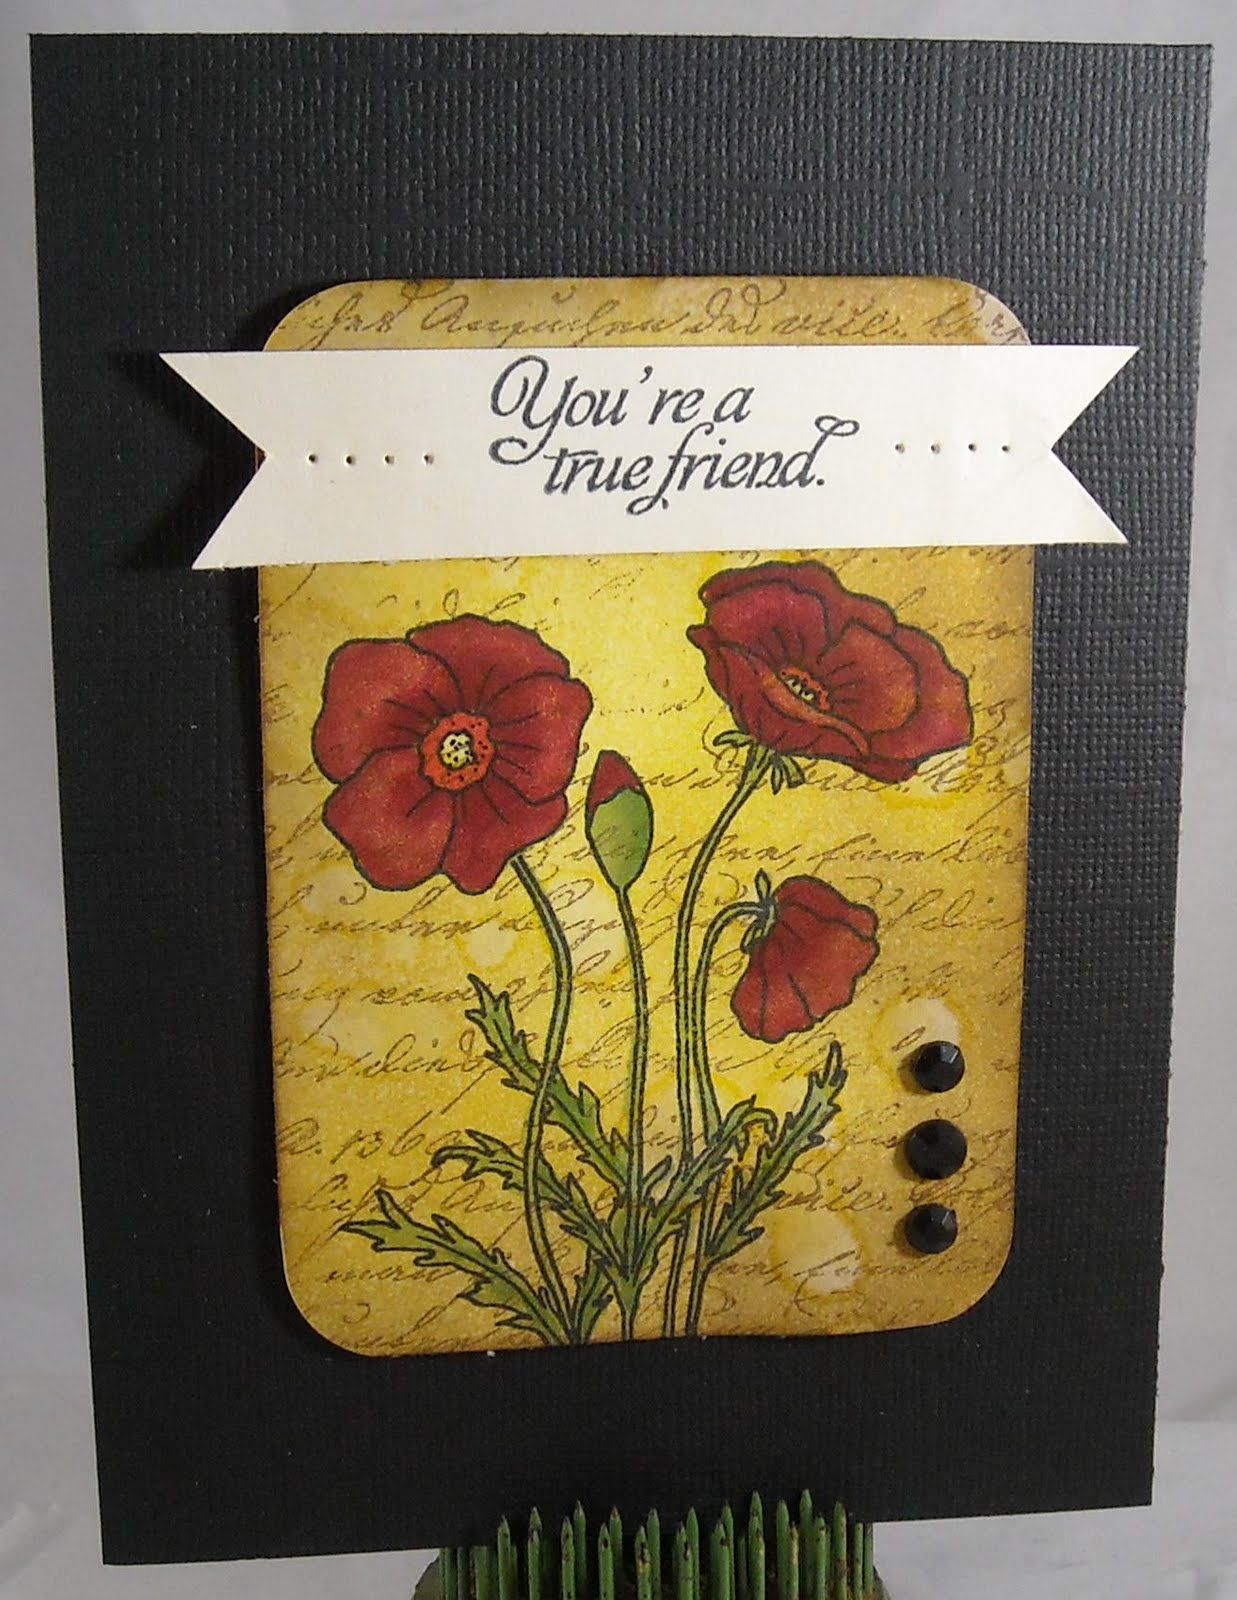
It's time again to share a previously released stamp image from Sweet 'n Sassy! This week it's the beautiful poppy image from the Poppies & Greetings stamp set. For this card I first created the background with Distress Ink and a script stamp and then I stamped the poppy image on top of my background paper. The image is colored with Copics and the entire piece is adhered to a piece of black cardstock. The image has been stamped on a paper banner and attached to the top of the piece.

Enjoy!

Friday, May 13, 2011

Sweet 'n Sassy Customer Blog Hop

Hey, Blogger is back on line! Sorry for the delay in posting my card for the SNSS Customer Blog Hop but I think almost everyone in the world knew about the Blogger outage! :-) But now it appears that we're back and working fine so here is my card for this month's blog hop, which is a tribute to the men in our lives.

The challenge for this month's hop is to create a card for the guys and if you want to play along, just visit the stamp blog here for all of the details. Prizes are included!!

My card features a tree image from the Forest Silhouettes stamp set. The silhouette stamp sets that Korin has created are some of my favorites. There's just so much you can do with them! Since this baby got created at about 10pm last night, after working and a class, I wanted to keep it simple! I dry embossed the navy cardstock in the background and simply stamped the tree in navy ink. I added a little sponging to the bottom of the tree so it wasn't floating in the air. Just added a simple greeting and a big 'ol green bow...'cause guys can live with just a small fancy thing, right??

Be sure to hop on over to the SNSS stamp blog to check out the other creations and to join in the hop!

Enjoy!

Monday, May 9, 2011

Yes, I am Alive...

Sorry for the long absence last week...Seems I got hit with the flu Tuesday morning and I have just now emerged from my cocoon of sickness! Ugh, it was awful and not only was I sick but both of the kids got the flu as well! Talk about a long week! Thankfully, we are all feeling almost 100% today. :-) Today, I have a card posted on the Sweet 'n Sassy blog, you can check out all the details here! Enjoy!

Monday, May 2, 2011

Keep it Simple

Today's card was inspired by one that I saw in a SU! mini catalog. I loved the combo of a bright, bold color with the kraft. I was also anxious to see one of the new Papertreyink sets that I purchased months ago, Background Basics: Newsprint. I've always been a sucker for any kind of print in the background of card and this newsprint image is no exception...I love it! And I think it's kind of fun paired with the soft, frilly butterfly image, from the Butterfly Kisses set.
And how about this same layout but in a different color...so easy! I also dry embossed a piece of kraft cardstock behind the stamped cardstock. You can just see a hint of the embossing peeking out. I used foam tape to mount the embossed cardstock for a little dimension. The sentiment is from the Signature Greetings set.

The best part about these two cards? They only took about 10 minutes to make!! Easy peasy and oh so simple!