photo kime5_zps3df5231d.png  photo kime6_zpsa90859c6.png  photo kime7_zps9d2ef86d.png  photo kime9_zpsb23b4278.png

Monday, November 10, 2014

Live Beautifully


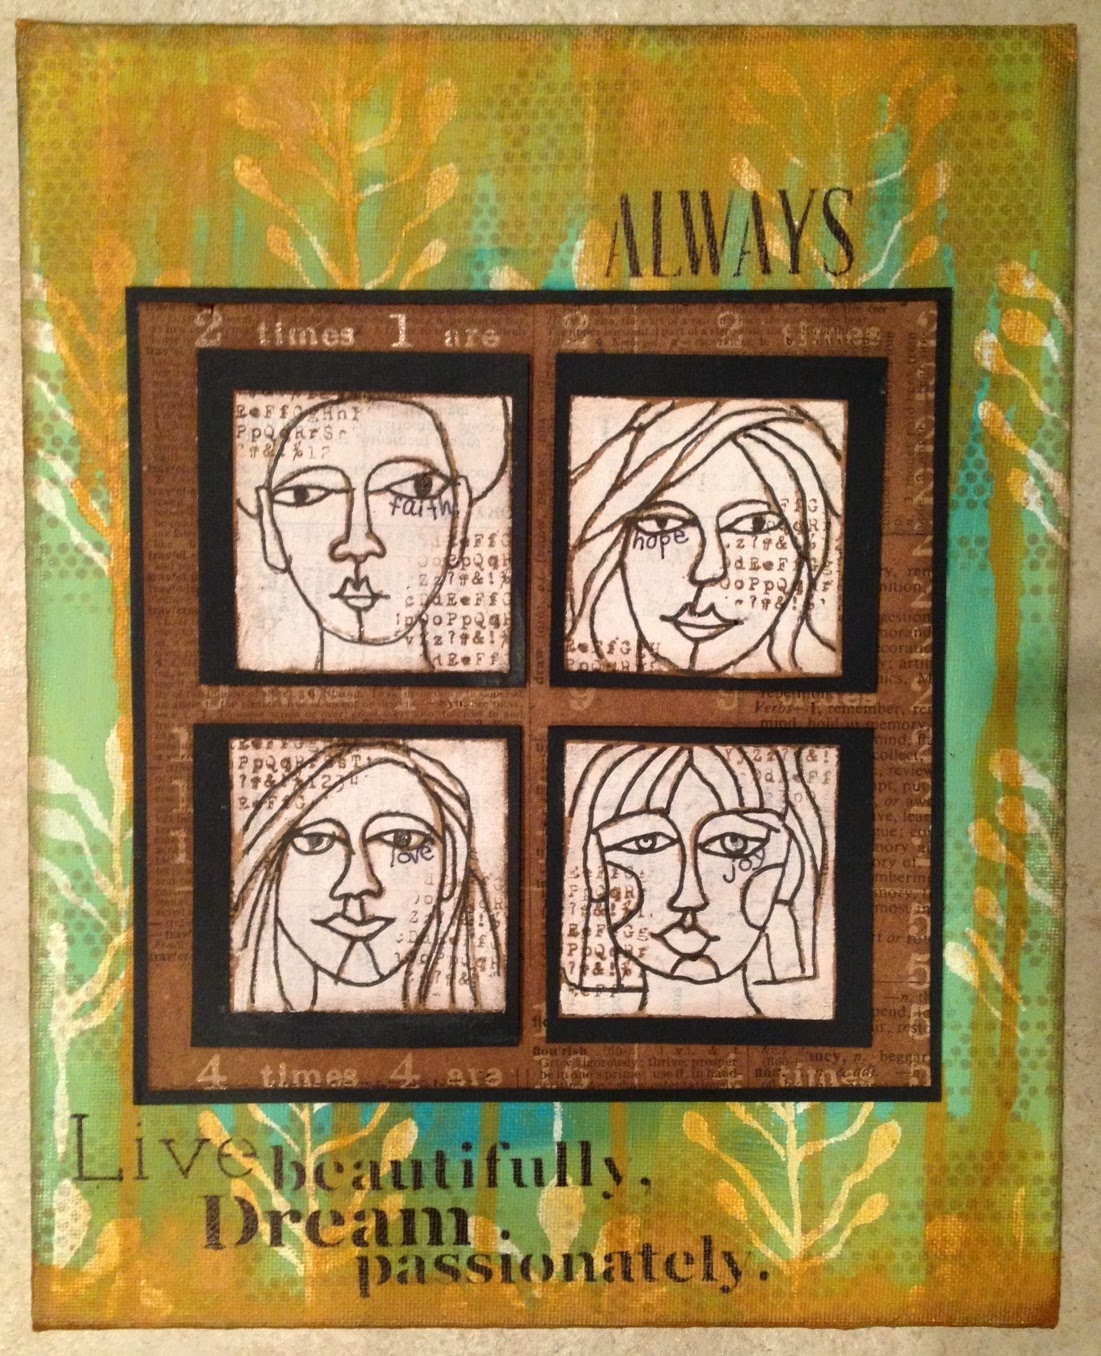
I had some time to create last night (yeah!) and I made a canvas based upon a piece of artwork I saw a few weeks ago...  I even made a video documenting the process and chatting about finding inspiration.  See below (product links below as well):

Product Links:
Prima Stencil (out of stock)


Friday, November 7, 2014

She Had a Dream

I know...I'm either posting a few times a week or not at all...I need some consistency!  (What I really need is some free time...LOL!)  I find some of that missing time yesterday afternoon and whipped up a sweet little Wendy Vecchi inspired wall hanging.  I also managed a sweet photo tutorial...Enjoy!
I've had this stash of goodies sitting on my desk for months.  Piled up, just like this, a pile of left over bits that I wanted to use to make a tiny burlap canvas.  I've moved these bits about a million times in order to get to some other object and today was the day I sat down and finally make art. (Links to all products at the end of the post).  The main cast of characters were some Art Parts from Wendy, a tiny burlap canvas, and some trinkets from Tim Holtz.
I started by applying a few shades of Distress Paint to my burlap canvas.  Just shake the bottle, open it, and start applying paint.  Great way to add just a hint of color.
And because nothing I make can be without a text circle...I added a text circle from a vintage book full of poems....swoon...The edges were distressed with Gathered Twigs Ink.
Next up were my Art Parts, using Wendy's Archival Inks.  I applied color with a blending tool.
Know what I love about Wendy's product line?  Coordinating Art Parts and stamps!!  To perfectly stamp an image on to a coordinating Art Part, apply Archival Ink to the stamp, keeping it stamp side up on your craft sheet.  Then press the Art Part into the ink on the stamp.  Much easier than trying to line up the stamp on top of the Art Part. Make sense? (Don't mind the ink on the back of my Art Part...I colored the wrong side! Doh!)
Here's the stamped Art Part! Isn't that the greatest trick ever!
I used black Enamel Accents to highlight the flower centers and set these pieces aside to dry.
I embossed the little bottle using Wendy's new embossing powders.  Just roll the bottle in Archival Ink and then in the embossing powder.  You will want clips to hold the bottle while you emboss and don't hold the heat gun in one spot for too long...keep it moving!  Hold the bottle while it cools to the touch.  Love how the powder doesn't adhere in every spot...so vintage!
To further decorate the bottle, I inked up a stamp from the Say it with Art stamp set and carefully rolled the bottle over the stamp.  Viola, instant design!  Give the ink a quick heat set before continuing.
And then...I assembled!  I added some twine to my tiny bottle, along with a tiny blackbird.  The two Art Parts were layered, using 3-D glue dots for great dimension.  Lastly, I added the sentiment and a ribbon, attached with brads (just through the ribbon and then glued to the side of the canvas), for hanging.  Now to find the perfect spot in my studio for displaying...

Want to purchase the products I used to create this project?  Follow the links below: (REMINDER - eclectic Paperie is offering a storewide 30% off sale.  Use code EP30 when checking out!)
Burlap Canvas
Distress Paint
Forever Art stamp set
Forever Coordinates (Art Parts)
License Plate Art stamp set
Say it with Art stamp set
Archival Inks
Embossing Powders
 

Monday, October 27, 2014

Friday, October 24, 2014

Soar

One of my latest altered playing cards.  The background was created with black gesso and acrylic paints mixed with glazing medium.  Stamps are from Just Johanna, which is a company that has sadly gone out of business...she had the most fun images.  Many of the JJ stamps were very small so they're just perfect for the small size of my deck of altered cards.  I journal on the back of each card...I'm looking forward to completing all 52 and creating a book of memories and thoughts...kind of like a diary but way more fun to create!

Wednesday, October 22, 2014

Chirp

A quick and easy tag I created when Dina Wakley first released her new paints and those sweet Scribbly bird stamps, which are nearly impossible to find now.  Darn!  They were big sellers!  Dina demo'd a tag in a video and this was my take...

I created the background by using a brush and a combination of Turquoise, Sky, and Night paint to color the background.  I then used my fav Classic Words stencil, from Wendy, to add another layer, along with a spritz of Dylusions White Linen through the Canvas stencil.  The birdie was stamped on a separate piece of cardstock and colored with paint.  The text created a branch for the bird to stand on; this kept him from looking like he was floating.  I then just added the tweet and chirp and a few more text circles.

Enjoy!

Monday, October 20, 2014

Bloom

Sometime last year I registered for an online Donna Downey class, to create the above painting.  I loved how Donna used a stencil to create the face...seriously, so much easier than drawing by hand, and how her hair was primarily constructed of flowers...me, faces, and flowers?  Why, yes, that's a fabulous combination!  (You can sign up for this same class here)  This stencil is called Three Quarter is was designed by Julie Fei-Fan Balzer.  You can see a video of Julie demonstrating how to use these stencils here.
 
 While I was really happy with my final results, a year later, I can see so many areas where I would have done things differently.  However, the one area that I adore is actually the canvas background, which was created by first randomly applying Wendy Vecchi's white embossing paste.  I love how the paste looks once you apply paint (after the paste is dry)...like a chipped wall in an old building...be still my heart!  I also added some stenciling using another Wendy Vecchi item, the Classic Words stencil (one of my favs!)  The Bloom is from the Artful Thoughts stencil.  I'm also really partial to all of the dots on the flowers...adds such a fun element.

Overall, I really enjoyed this class and am looking forward to finding a place to display my blooming lady...

Friday, October 17, 2014

Leave Ordinary Behind

Hi all!  In an effort to get some of my many projects, created over the past two years, posted on my blog, I'm going to start sharing the art without a lot of commentary on how I created each piece.  This will hopefully get me back to a fairly regular posting schedule...at least until eclectic Paperie is fully closed.  Speaking of closing...everything in the store, with the exception of clearance items and our kits (kits are 20% off), is now 30% off!  Yippee!  Use code EP30 when checking out.

The eye chart design on the background of the page was created using the Eye Chart Layering Stencil and White Embossing Paste.  Once the paste was dry, I used Dylusions Ink Sprays for my second layer (the paste resists the ink sprays!)  I used a stencil and Gathered Twigs ink for my third layer and then added the sentiment, stamped on kraft cardstock, and a few text circles.  The figure is an older Dina Wakley stamp, which you can find at Stampington.

Enjoy!